The Basics: How to use Admin Columns
In this chapter of our ‘getting started guide’, we will explain how to use Admin Columns Pro. We will cover the basics necessary to use Admin Columns Pro and will guide you through each feature of Admin Columns Pro.
Admin Columns allows you to manage the content displayed on the WordPress list tables. It also provides additional functionality – such as improved filtering, editing, and exporting – to these list tables which allows you to better manage your content.
Manage columns
Admin Columns can manage the columns that are being displayed on the WordPress list tables, or as we call them ‘table screens’, such as Pages, Posts, Users and the Taxonomy list tables.
Start by going to the list table screen. In this example, we will use Pages. Go to the Pages screen and click the “settings” icon with the “edit columns” tooltip.

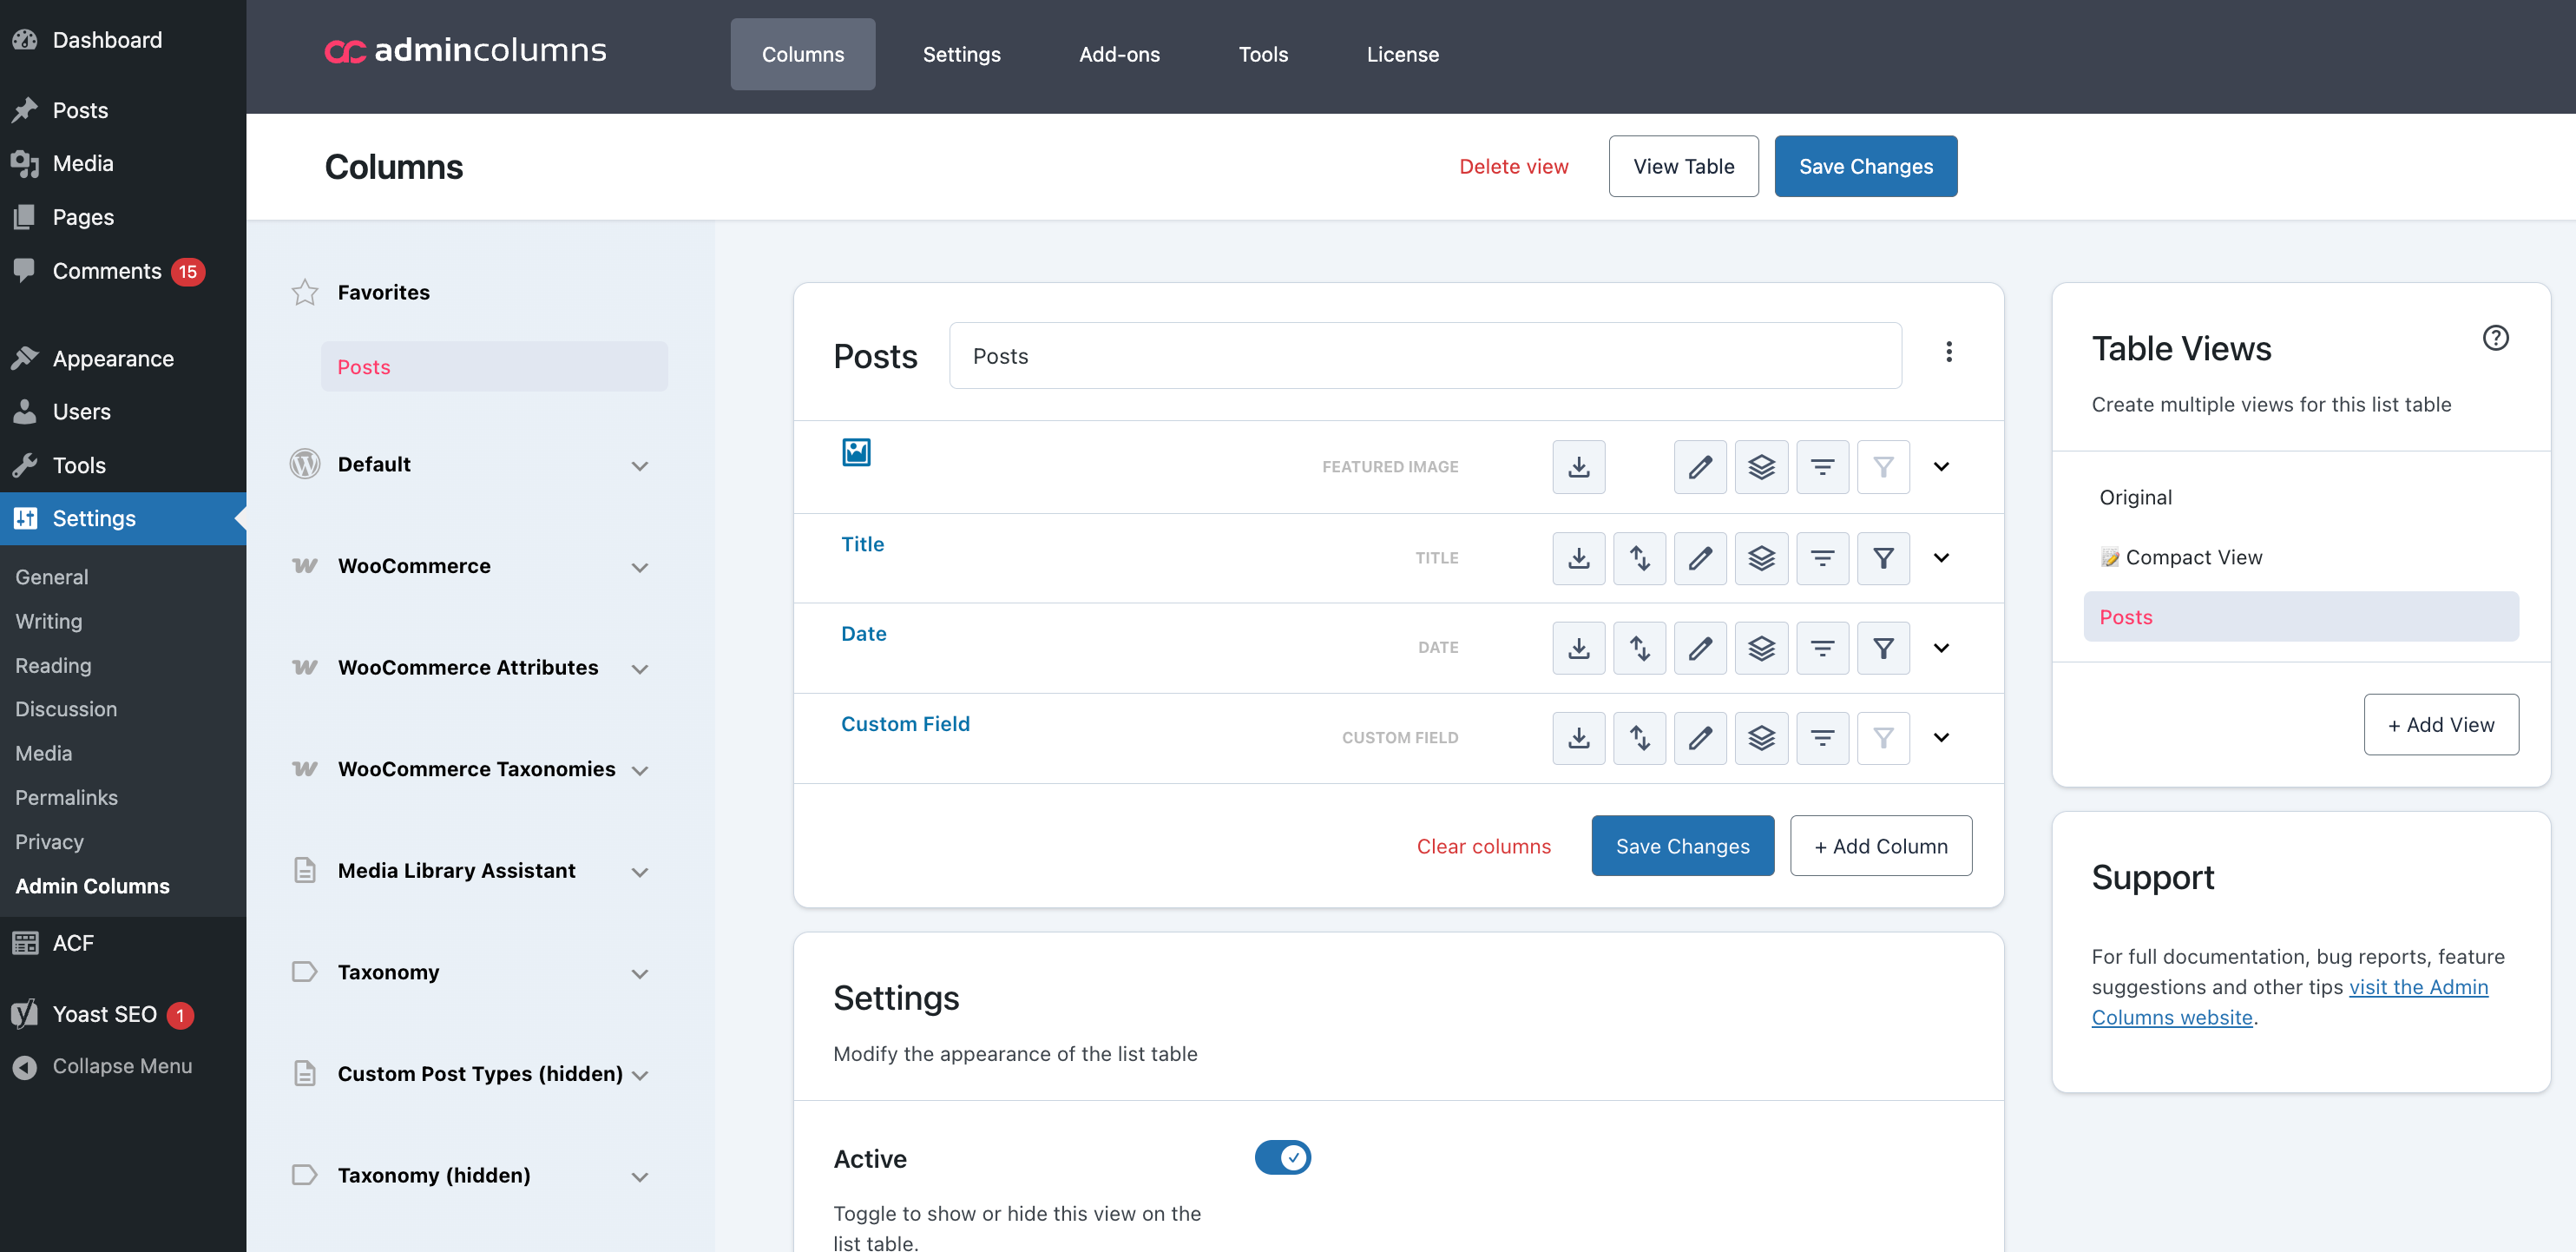
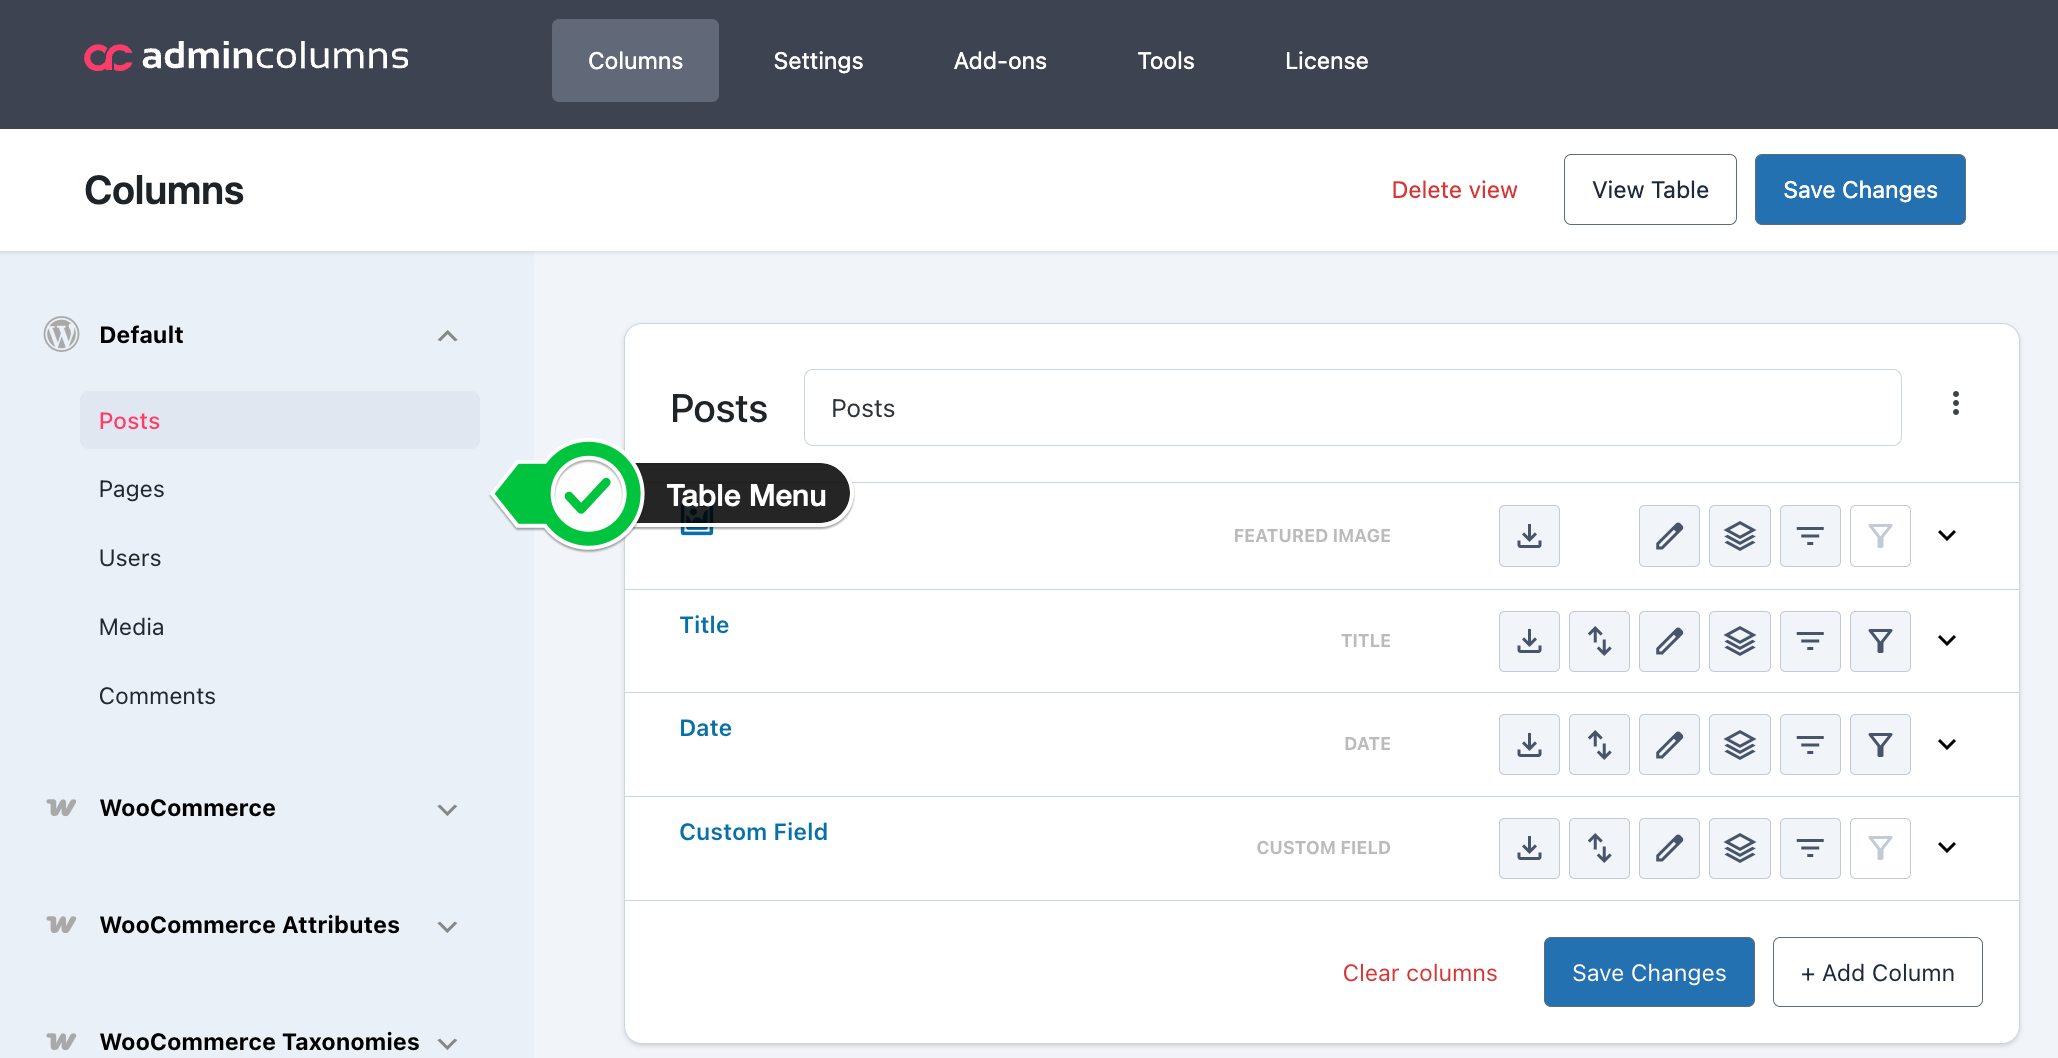
Admin Column Settings screen
This will take you directly to the admin columns settings screen for that particular list table. The column settings page will give you an overview of all the columns that are shown on the list table:
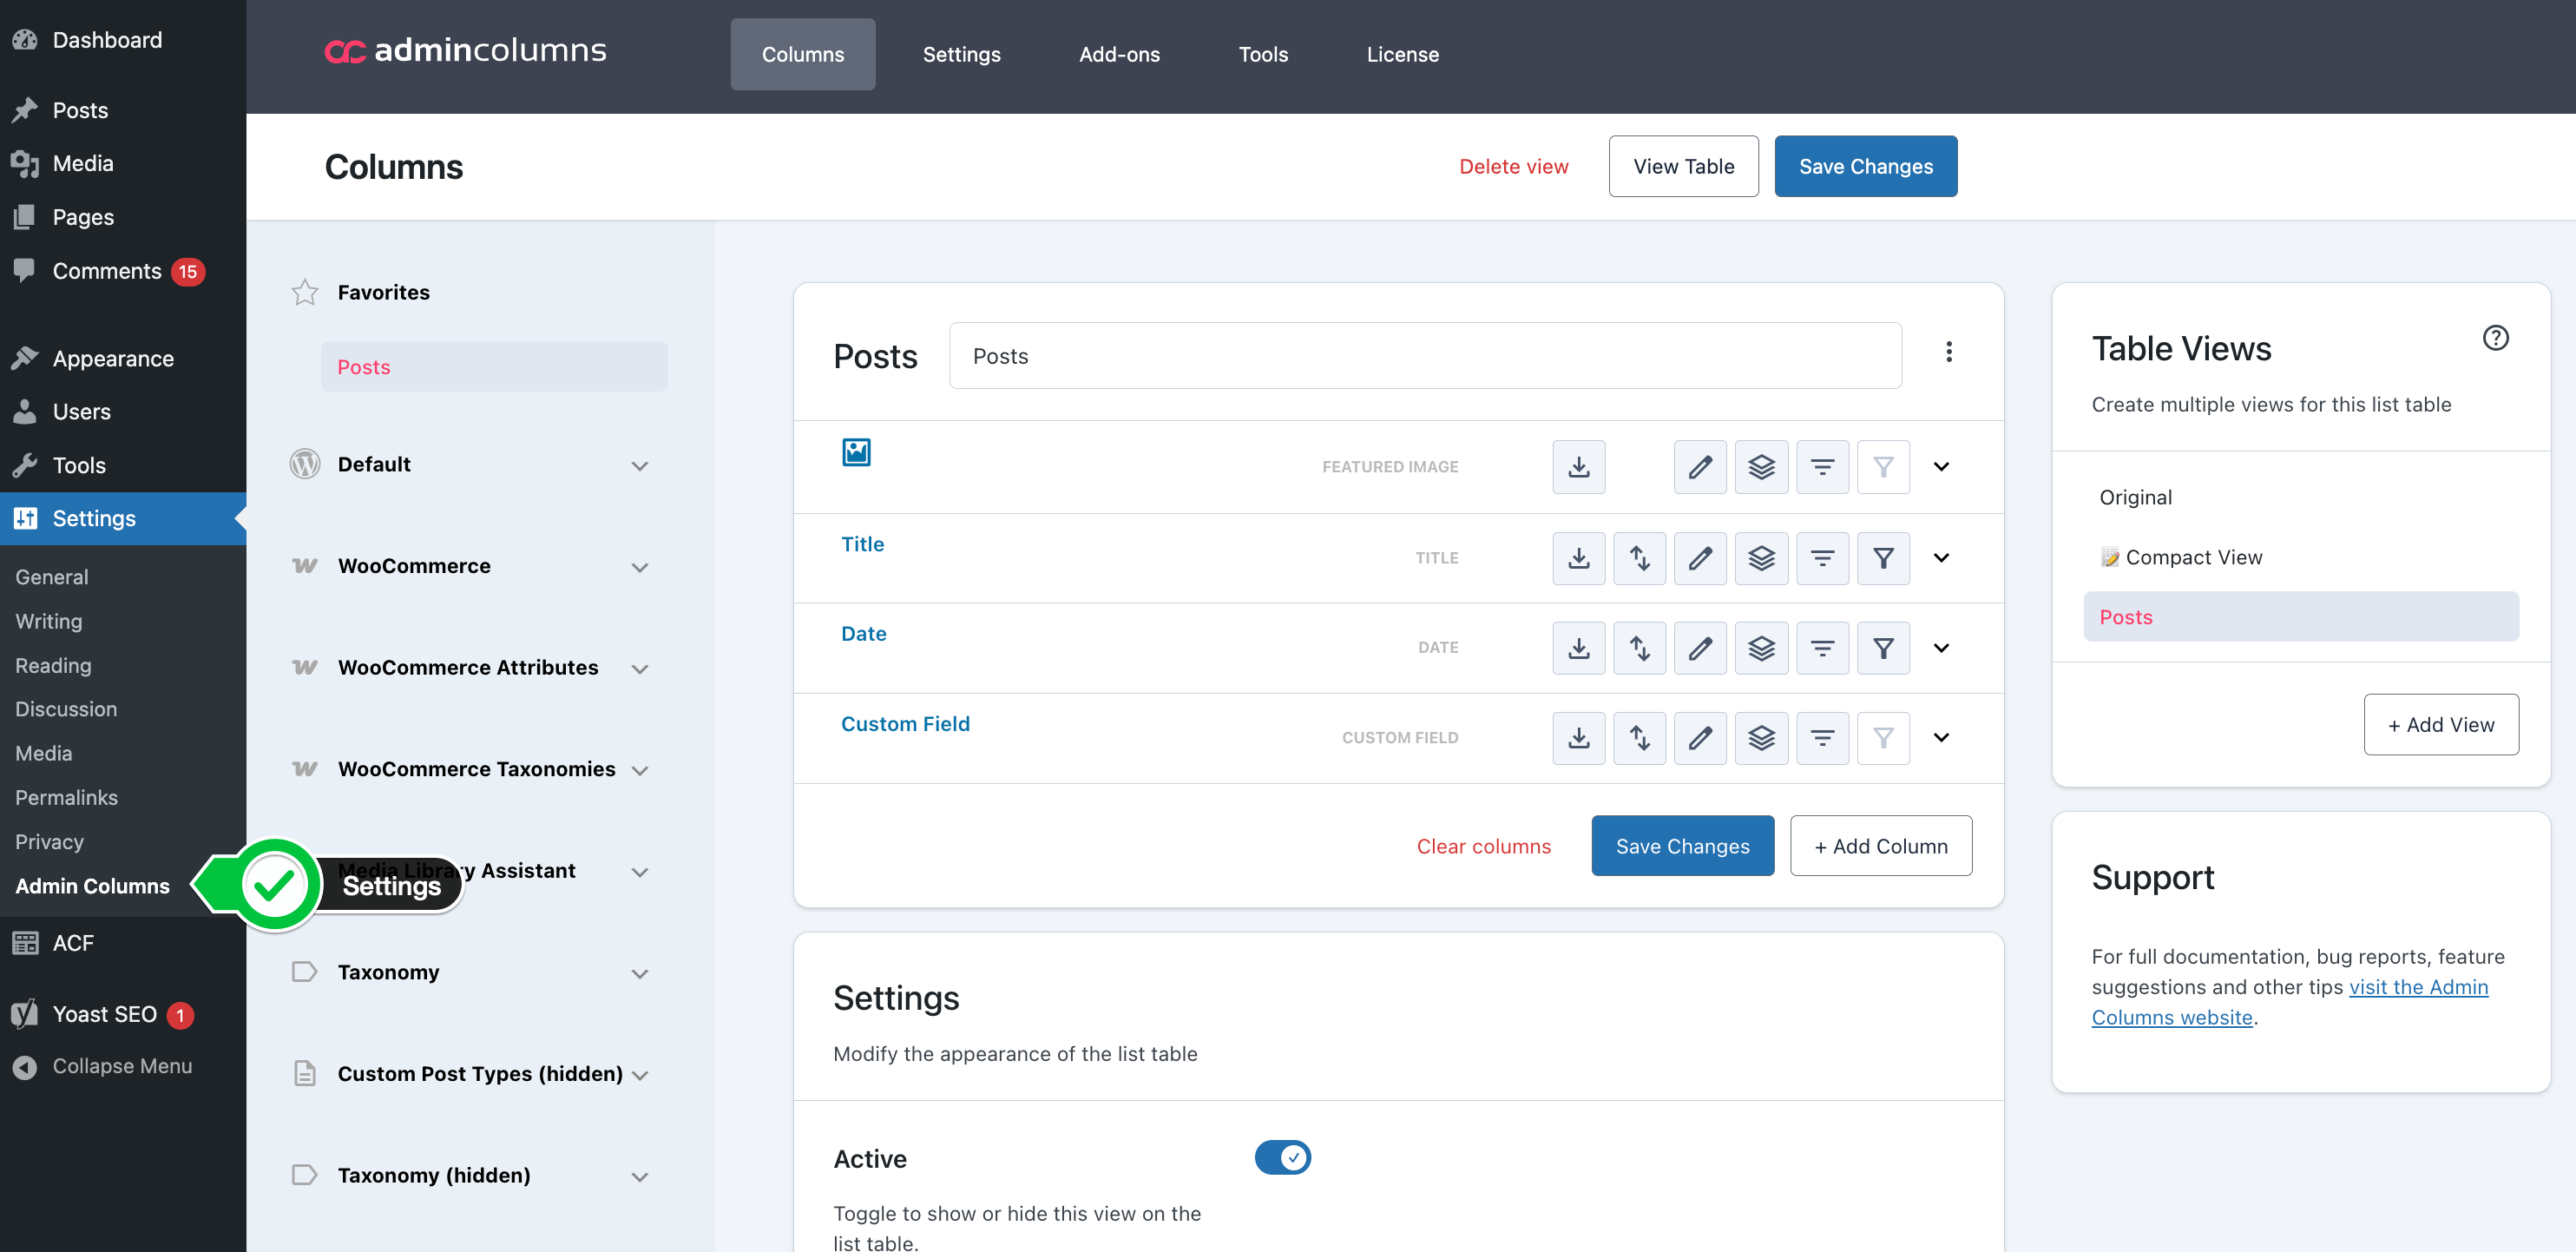
You can also go to the column settings by opening: Dashboard > Settings > Admin Columns. And then select the list table from the dropdown menu.
Add or remove columns
You can change which columns are shown on these WordPress list tables: Posts, Pages, Custom Post Types, Users, Media, Taxonomies, and Comments.
Here is a full list of our the available columns for each list table.
Here is how to add such a column:
- Go to the column settings screen: Dashboard > Settings > Admin Columns.

- Select a WordPress List Table from the menu on the left.
- Click the + Add Column button in the lower right and select/search for the desired column to add.
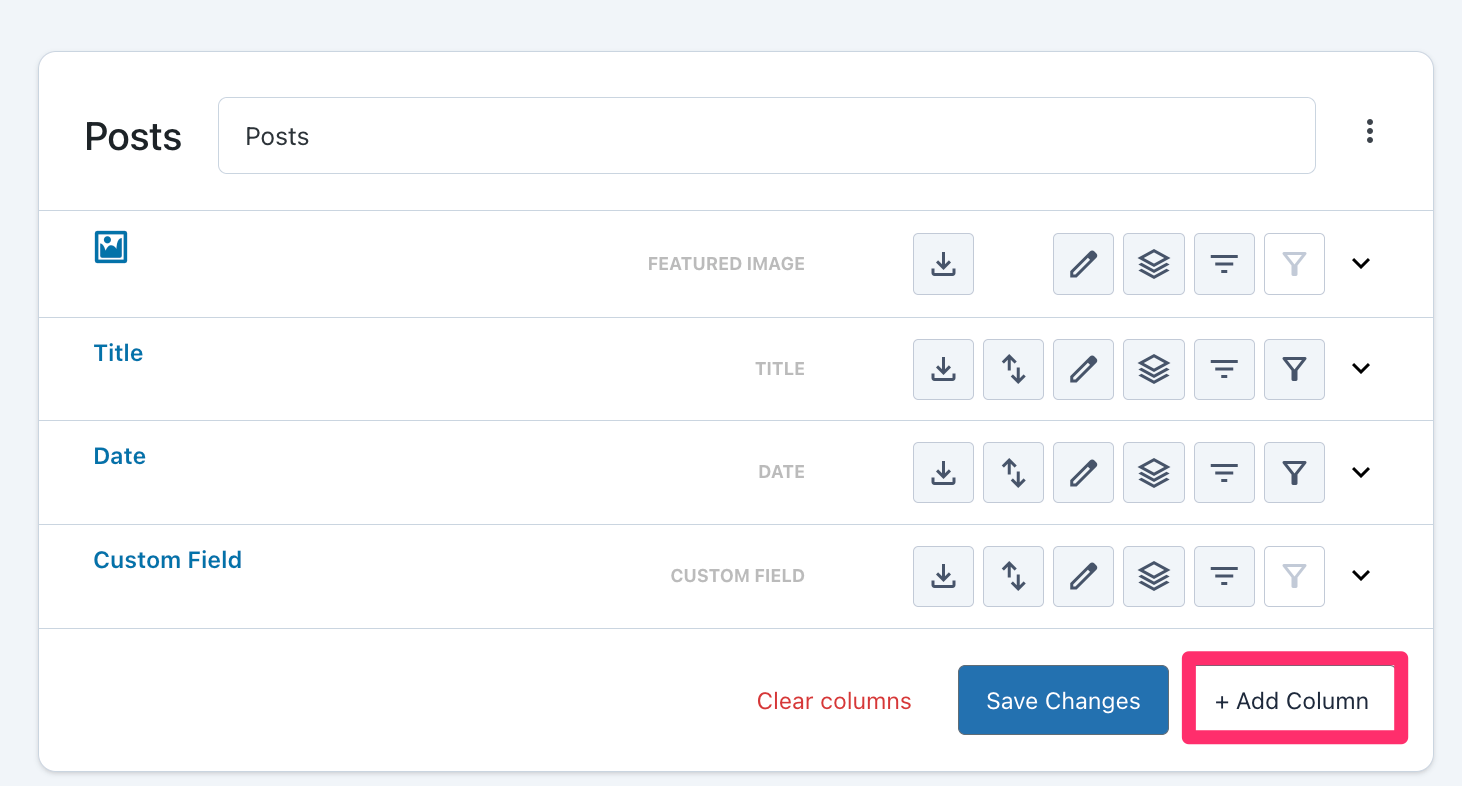
- Remove a column by clicking delete next to the column’s label.


Column settings
All columns share some common settings, but also offer unique settings per column type. Below is a screenshot showing the available column settings for a Featured Image column. 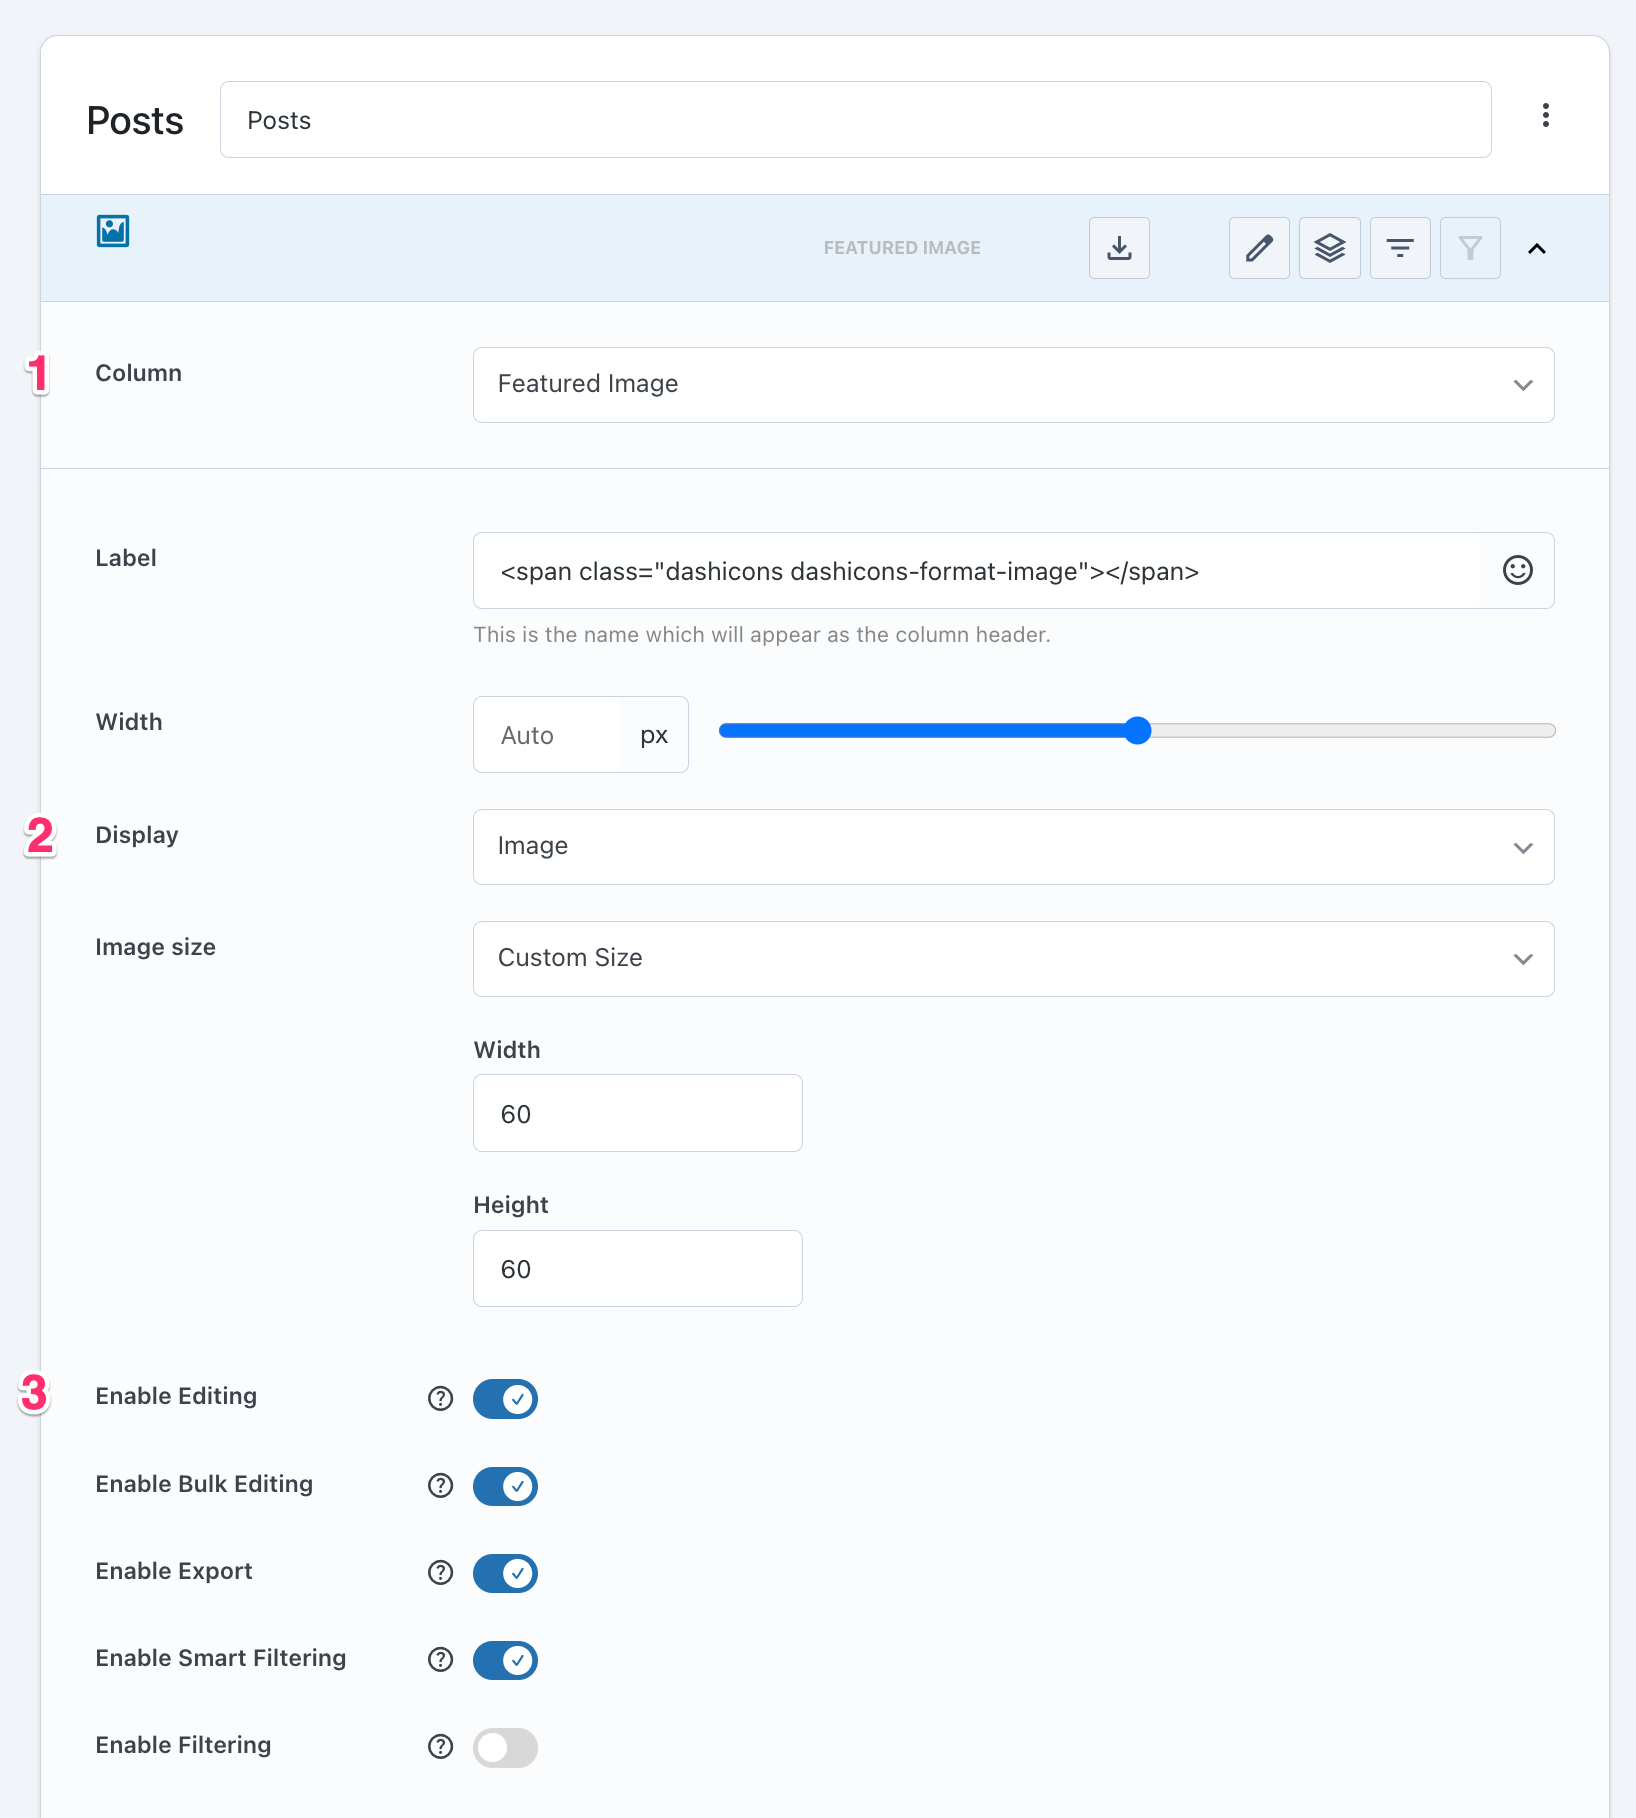
-
Common settings
Each column has settings to set their label and width in pixels or percentages.
Name Description Type The currently selected column type. Use the dropdown to change it to another column type. Label Change the label of the column header. Use the icon picker if you want an icon as its label. Width Change the width of the column in pixels or percentages. -
Unique settings
Some columns have unique settings that allow you to fine-tune how the content is being displayed. For example, these settings are unique to the featured image column:
Name Description Display You can choose to display the featured image or its file size. Image Size Set the dimensions of the image that is shown on the list table. -
Advanced settings
A column can do much more than just displaying its content. We added additional functionality that allows you to edit, sort, filter, find and export all your content directly from the list table based on the columns you have added.
You can click these icons in the column header to toggle functionality for export, sorting, inline/bulk edit, and smart filtering:

Here will explain each feature in more detail:
Name Documentation Inline Editing How to use Inline Editing Bulk Editing How to use Bulk Editing Sorting How to use Sortable Columns Export How to use Export Smart Filtering How to use Smart Filtering

Re-order columns
You can change the order of the columns by dragging them.

Settings
The Settings panel allow you to control the elements on the WordPress list table.

-
Active
You can disable (hide) a column view from the list on the table
-
Conditionals
With conditionals, you can make a set of columns available to a specific user or role.
Tip: When you have roles for different tasks, such as SEO (editor) or development (admin). Then create multiple columns sets and assign them to each role.
-
Table Elements
You will be able to hide items from the list table that you do not want your users to see.
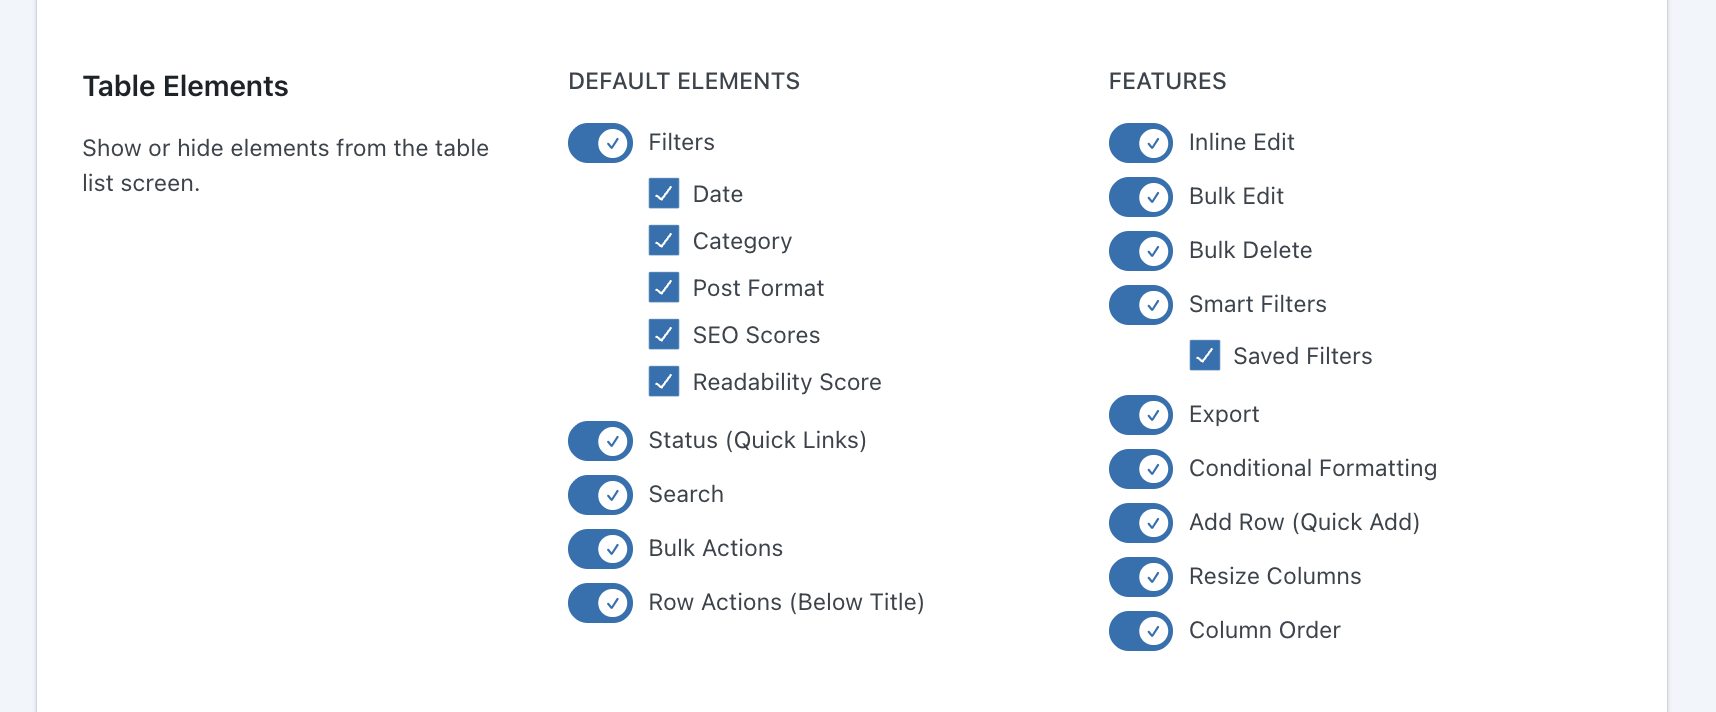
The result is you have a list table that is better suited for its task. If you do not need search, inline edit, bulk edit, or certain filters, you can now simply hide it from your users.
-
Preferences
Horizontal Scrolling
When you add more and more columns to your WordPress list table, you might run out of space on your screen. It becomes a trade-off between making your content more readable and leaving out certain columns. We wanted you to have both; a lot of information in nice-looking columns on all screen sizes. That’s why we added Horizontal Scrolling, which allows you to scroll the content of the table, not just vertically (from top to bottom), but also horizontally (from left to right).

Sorting
One of the best features is the ability to sort your content. You can simply click on the column header to sort it ascending or descending. The WordPress default for sorting is usually the title or the date column. Now you can change the default sorting to any column.
 When you click Reset Sorting or when you visit the list table for the first time it will be sorted by your column of choice.


 When you click Reset Sorting or when you visit the list table for the first time it will be sorted by your column of choice.