Installation
Install Admin Columns Pro
There are two ways to install Admin Columns Pro.
Manually through Dashboard
- If you have installed the free version of Admin Columns, you can deactivate and remove this version first
- Download the Admin Columns Pro plugin (zip-file) from your account page
- Under Plugins, click the “Add New” submenu
- Click “Upload plugins”
- Select the Admin Columns Pro zip-file you downloaded and click “Install now”
- After installation, you will find a new menu item under Settings, called Admin Columns.
Manually through FTP
- Download the Admin Columns Pro zip-file from your account page.
- Extract the zip file.
- Upload the ‘admin-columns-pro’ folder to the ‘/wp-content/plugins/’ directory.
- Go to the Plugins menu and activate Admin Columns Pro.
- After installation, you will find a new menu item under Settings, called Admin Columns.
Activating your License
By activating your Admin Columns Pro license you will automatically receive updates for Admin Columns.
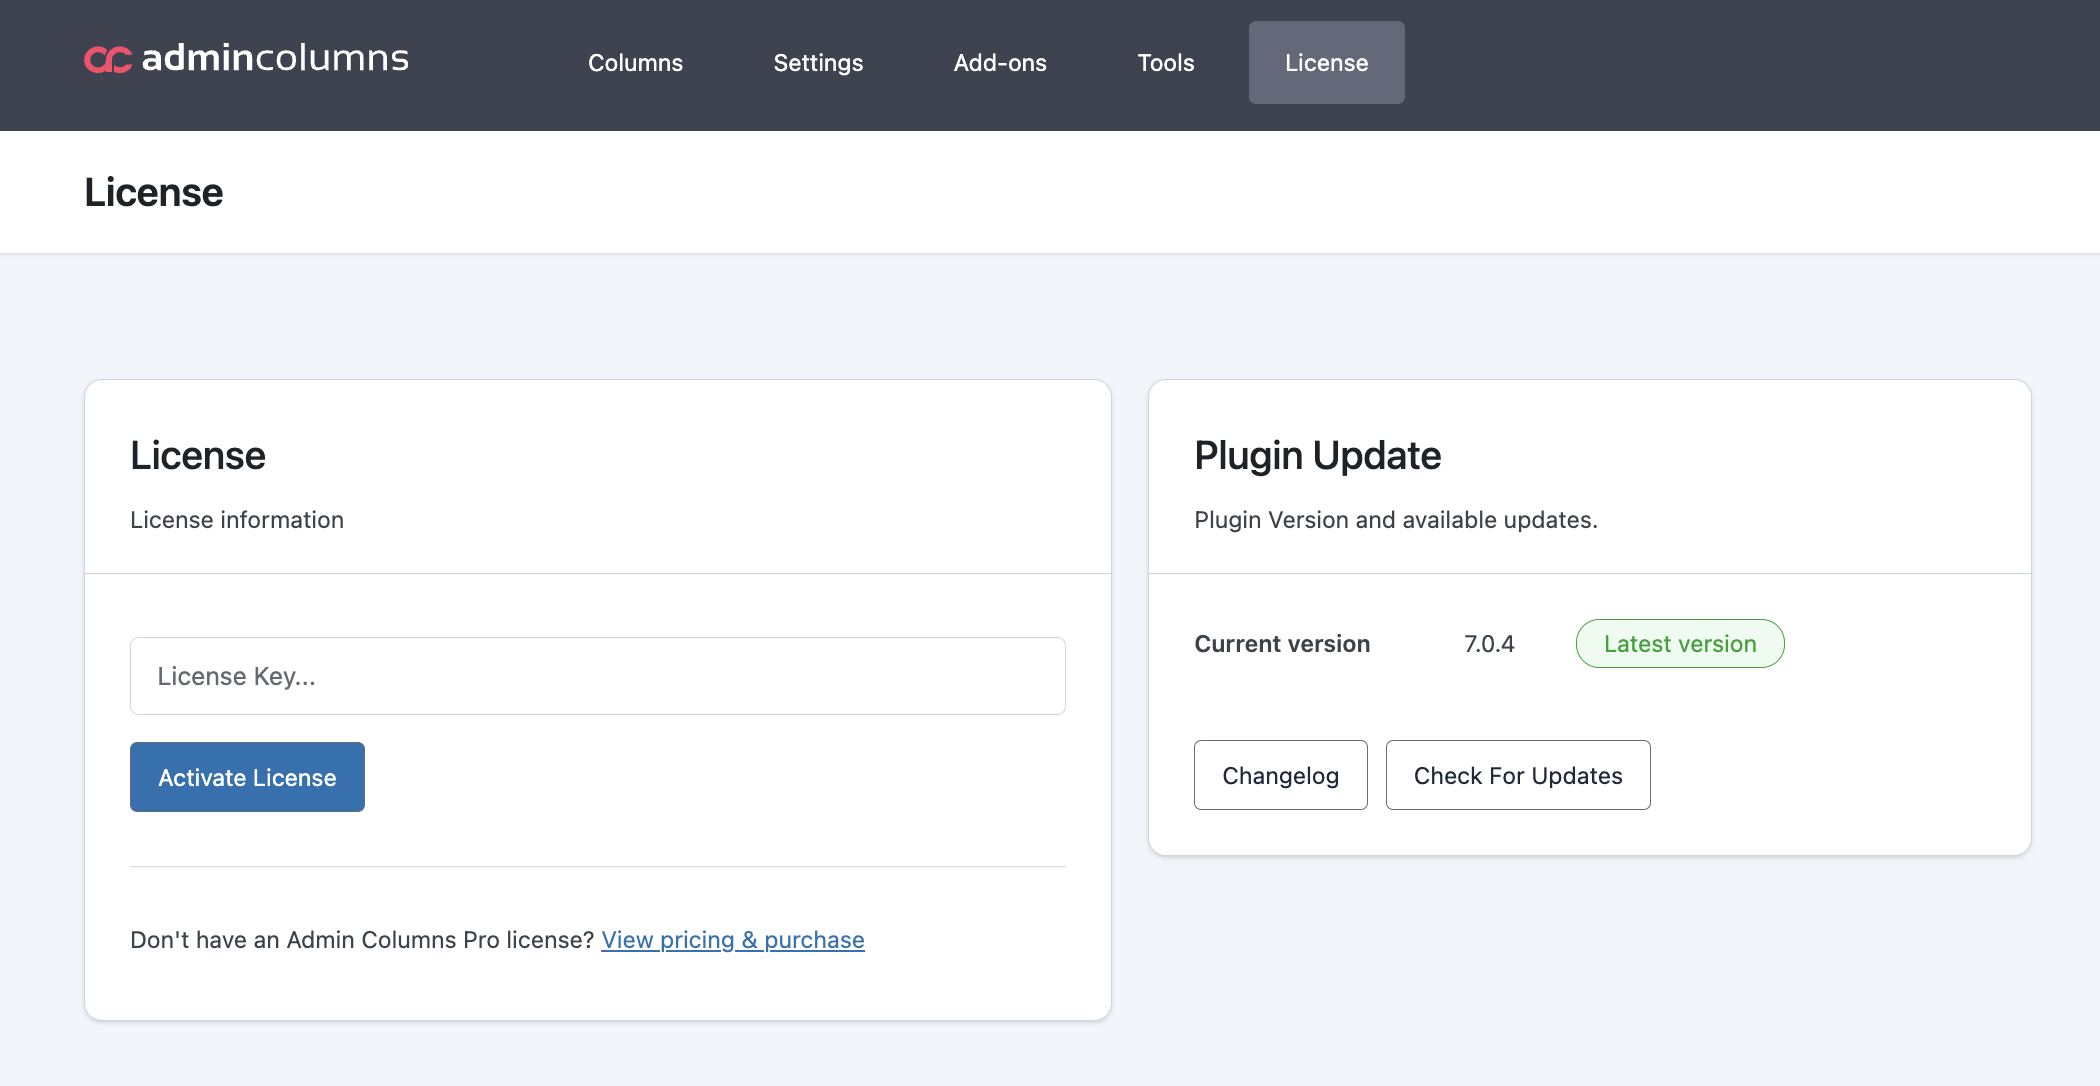
- Navigate to the Admin Columns Settings screen. You can find it under Settings » Admin Columns.
- Go to the License tab.
- Enter your license key and click the Activate button.
 You will now receive automatic updates for Admin Columns and the integration add-ons.
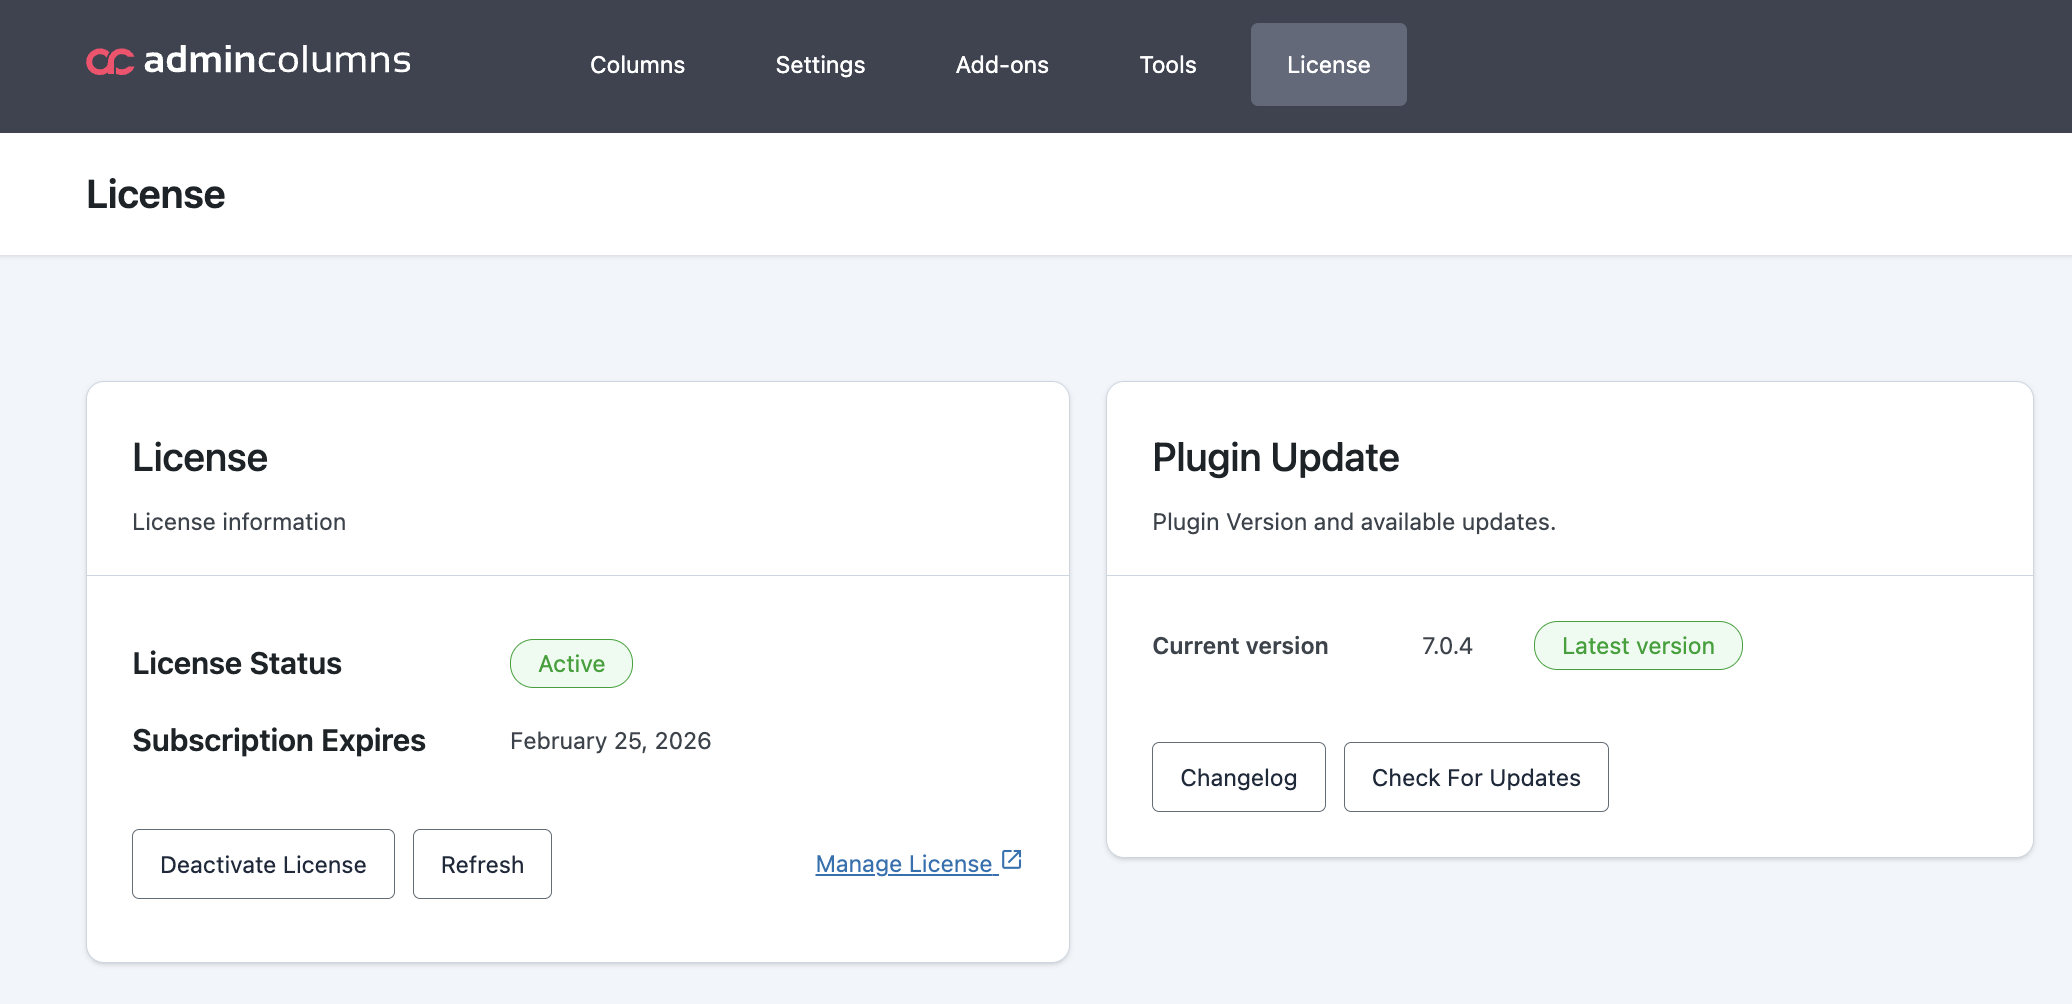
 You will now receive automatic updates for Admin Columns and the integration add-ons.
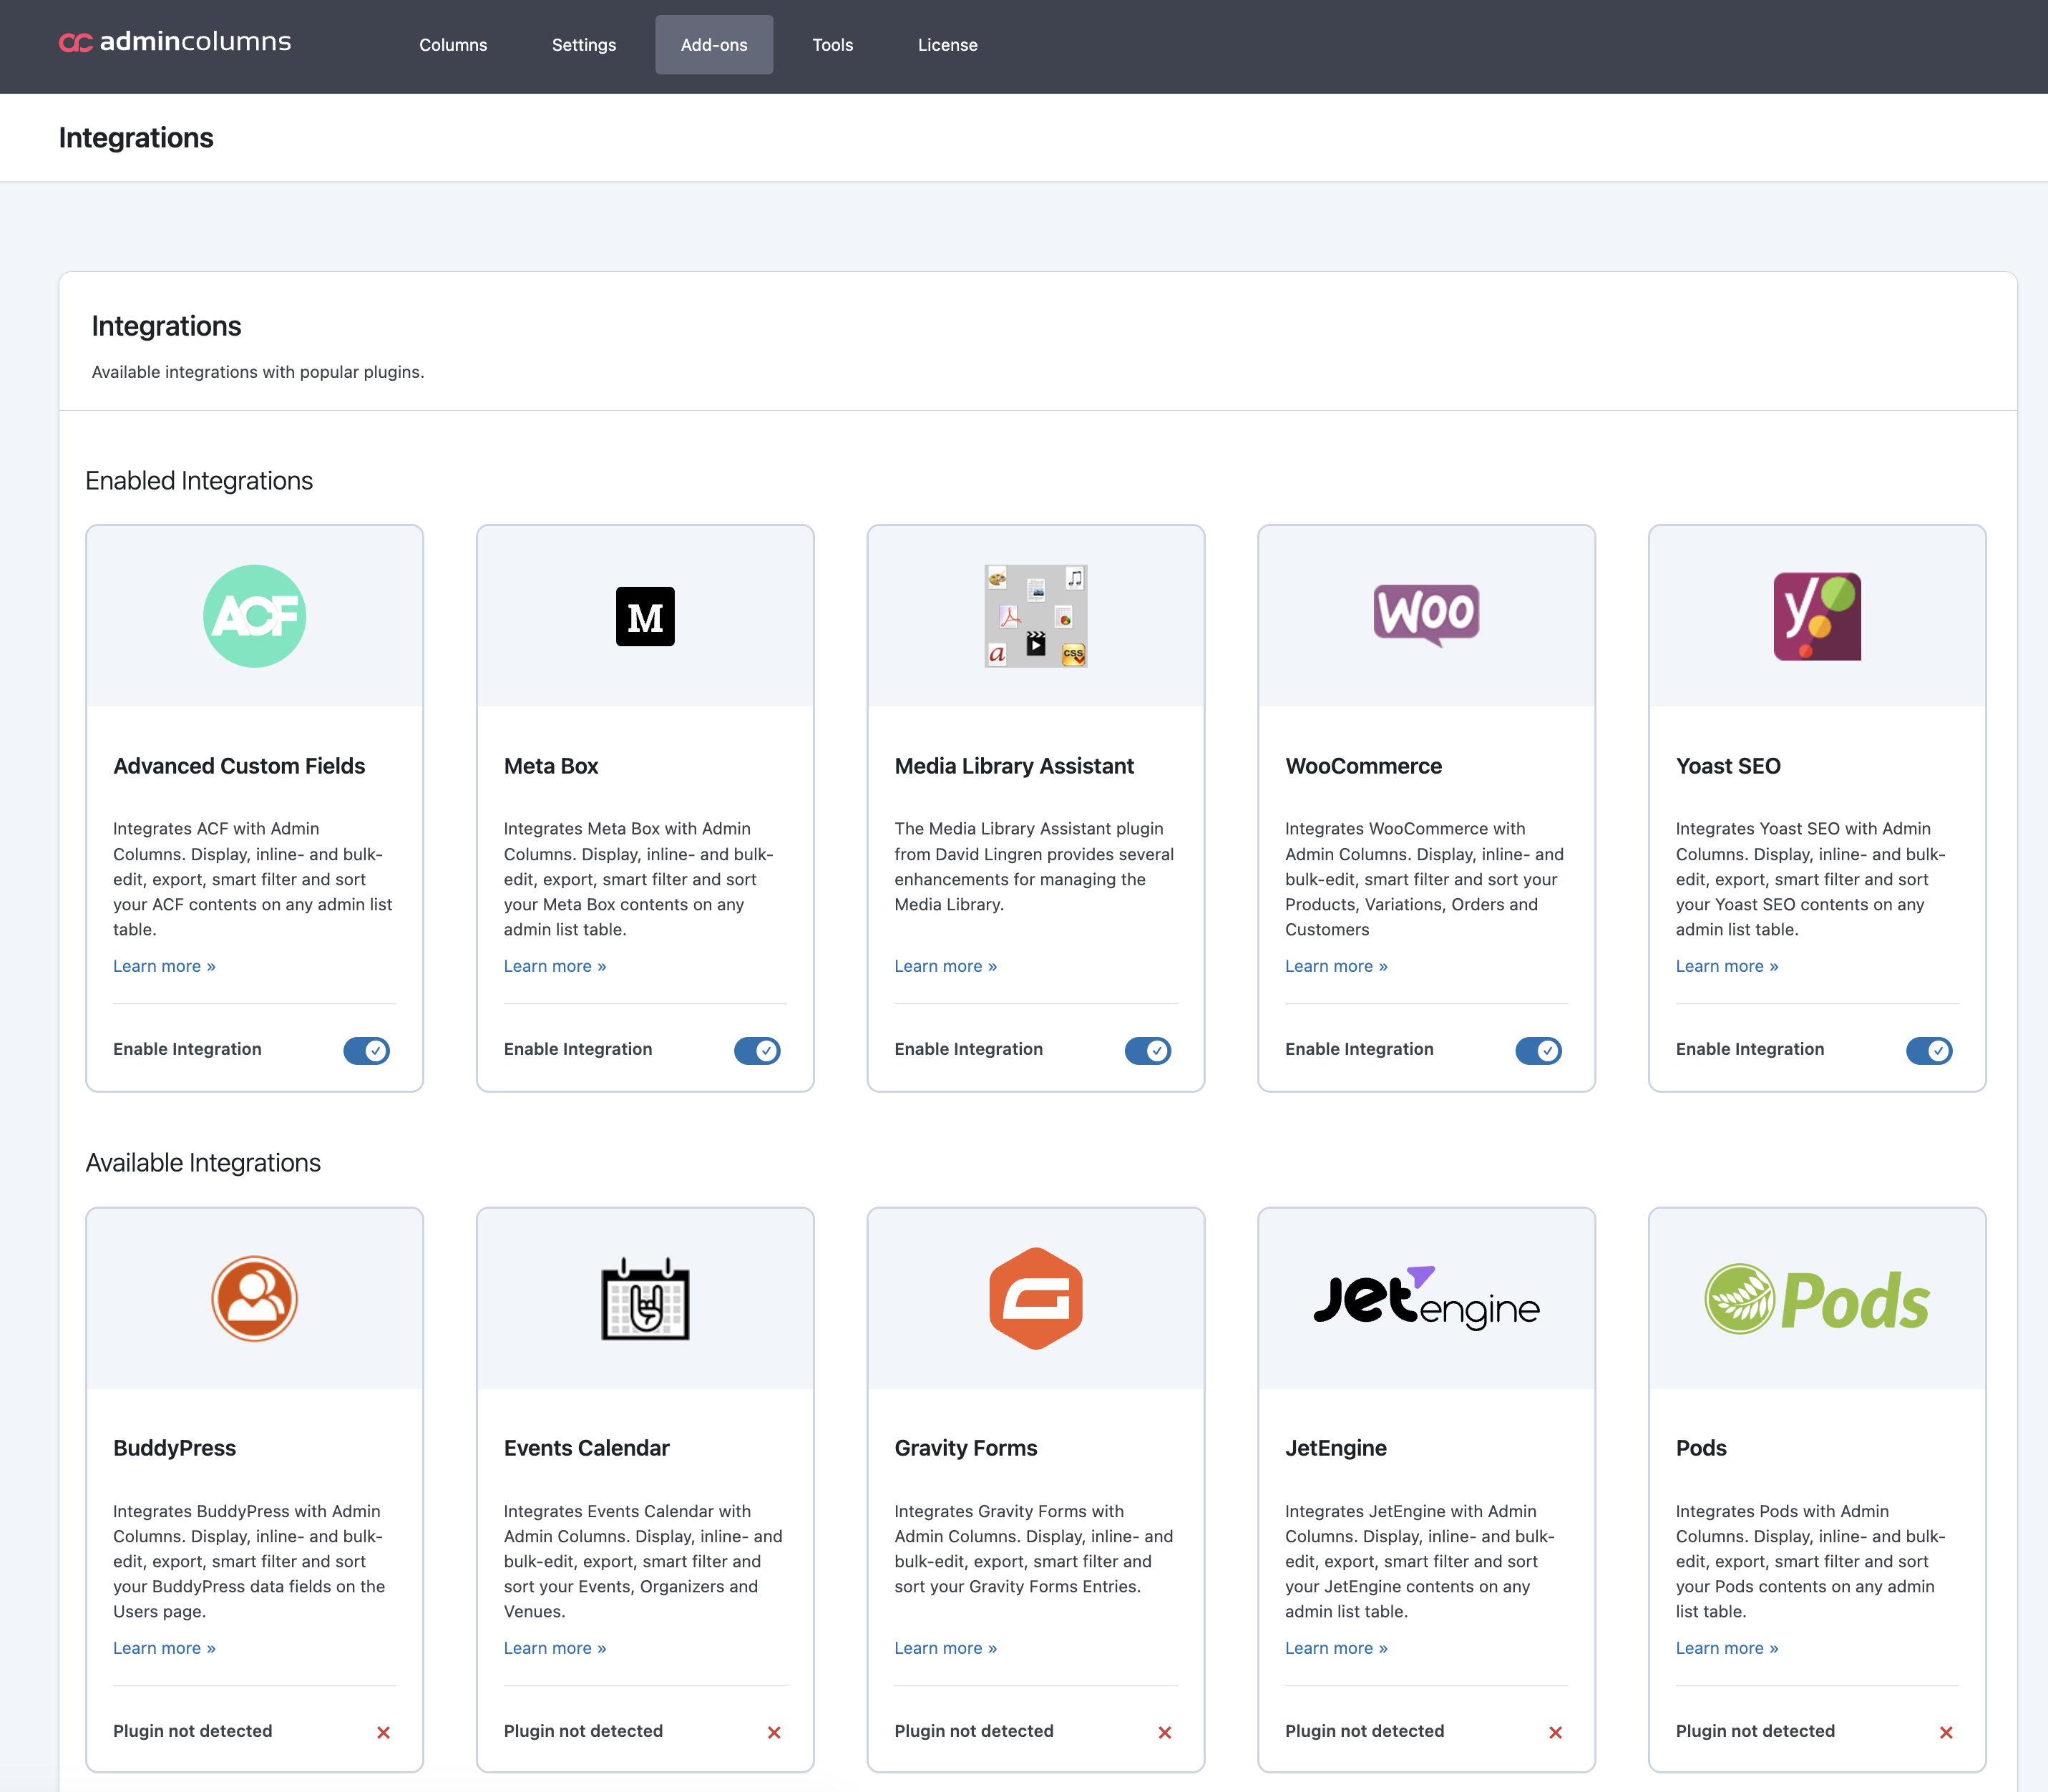
Activate Integration Add-ons
All integration add-ons are shipped with Admin Columns Pro itself and are automatically activated. You do not need to install these add-ons yourself.
Uninstall the plugin
When deactivating or deleting the plugin from your installation, all settings will be preserved and will not be removed.
If you want to delete all stored settings do the following:
Delete saved settings
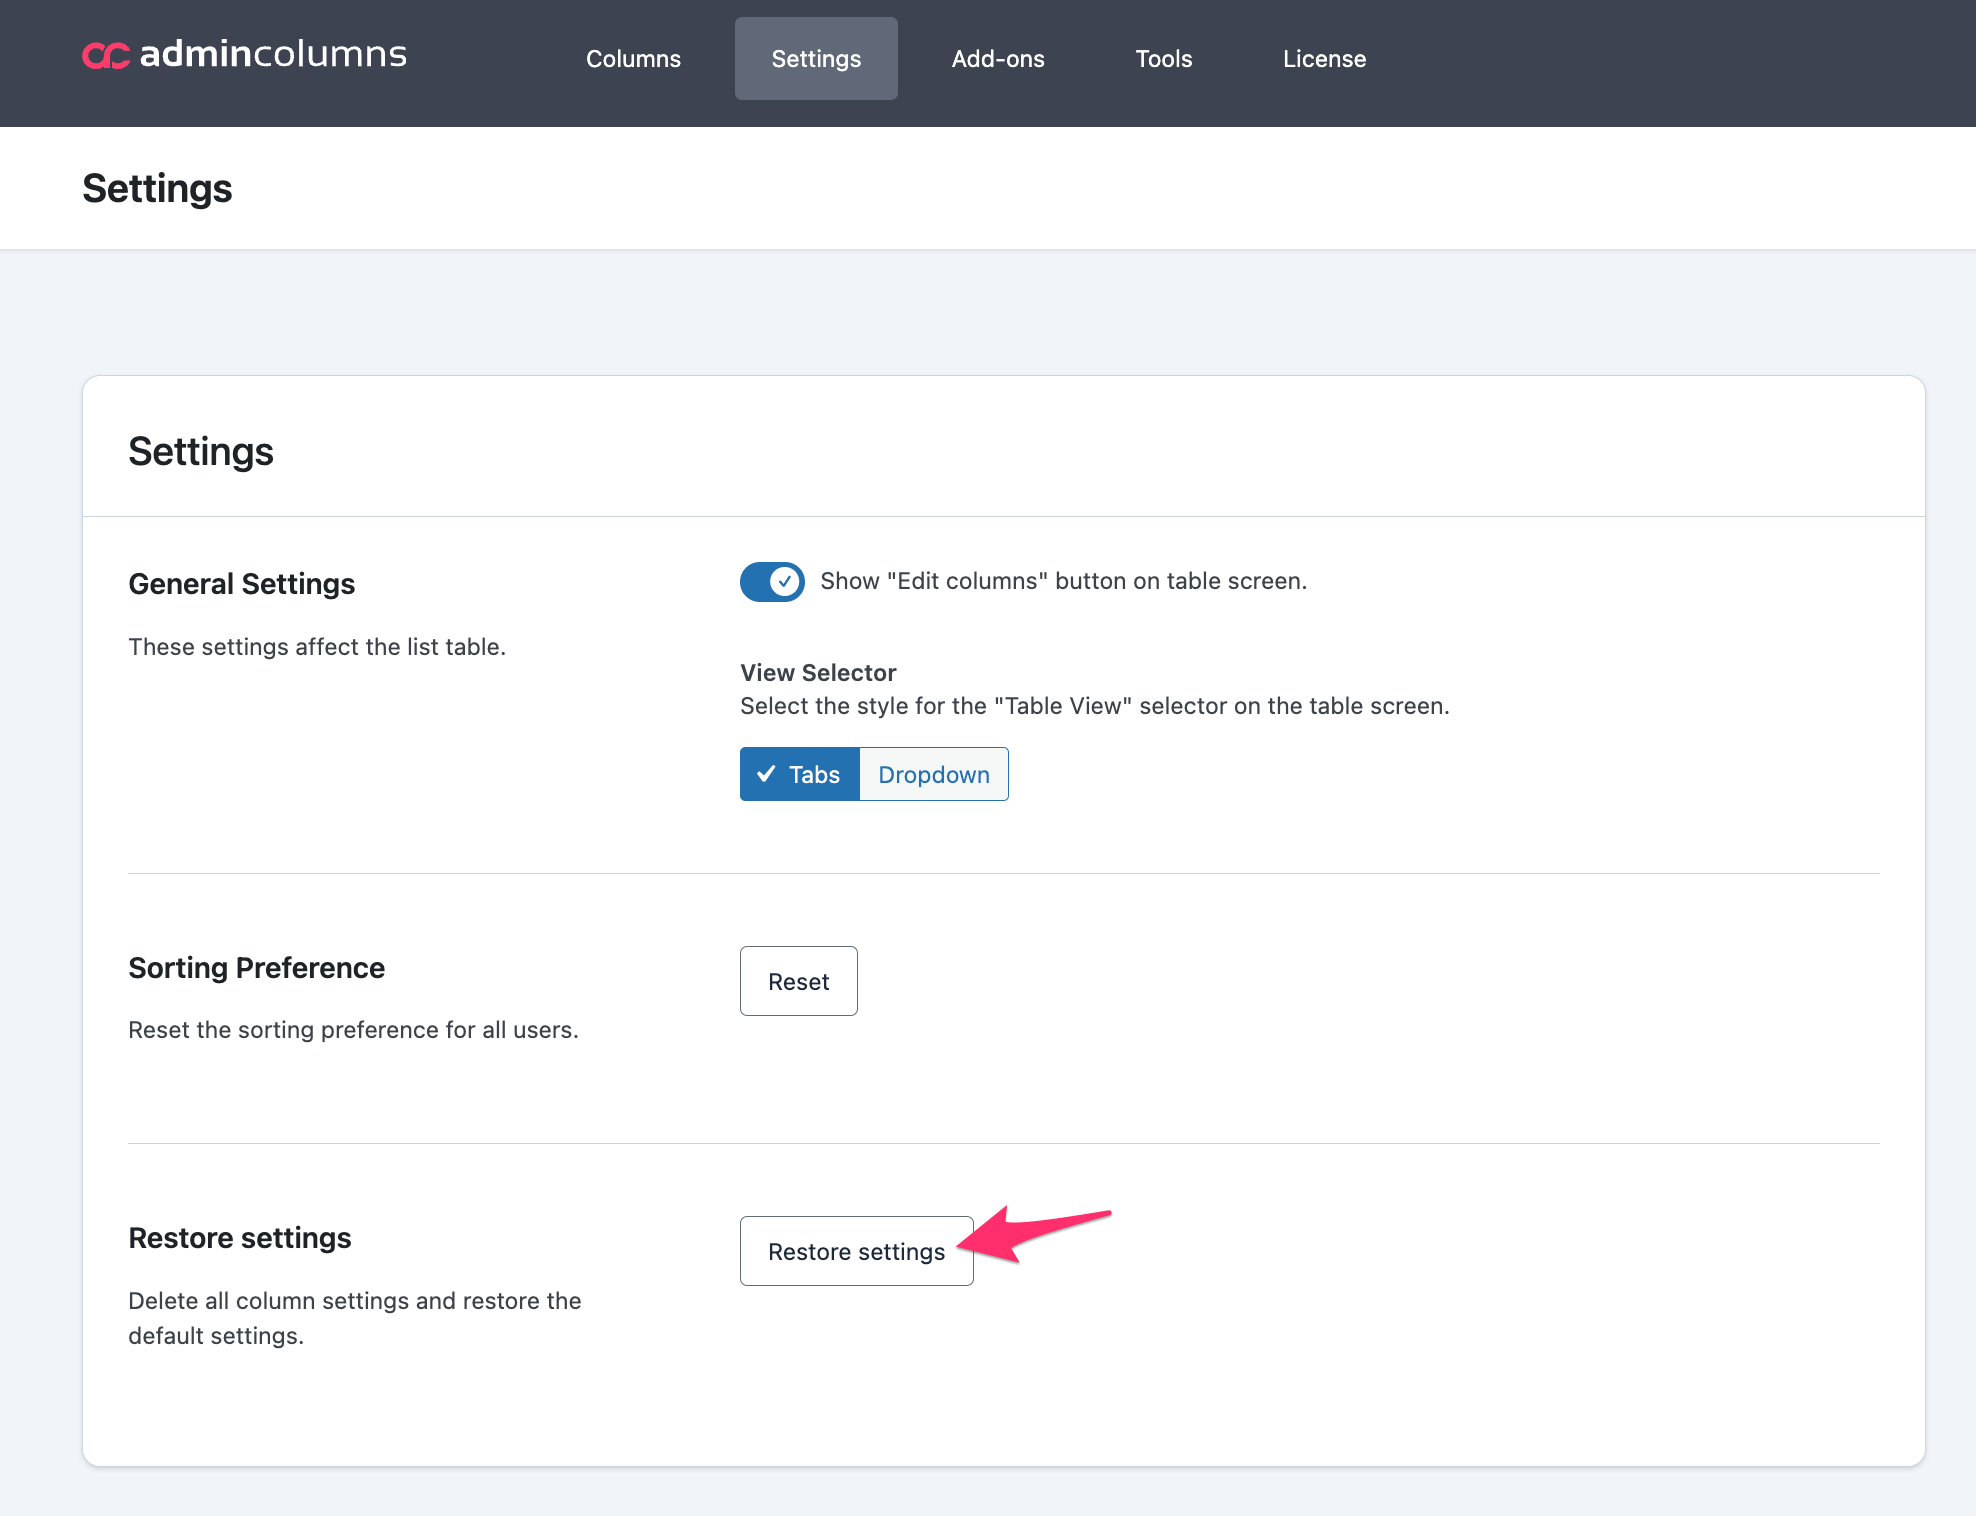
- Go to: Dashboard > Settings > Admin Columns
- Go to the Settings tab.
- Click the Restore settings button to delete all column settings.

Using the plugin
Admin Columns provides an easy-to-use interface that allows you to add, remove, and manage columns for your list table pages for (among others) posts, users, media, comments, and taxonomies.
To access the Admin Columns settings screen, simply navigate to your admin panel ( example.com/wp-admin/ ), and go to Settings » Admin Columns in the admin menu.

This leads you to the Admin Columns settings screen, where you have full control over the columns.
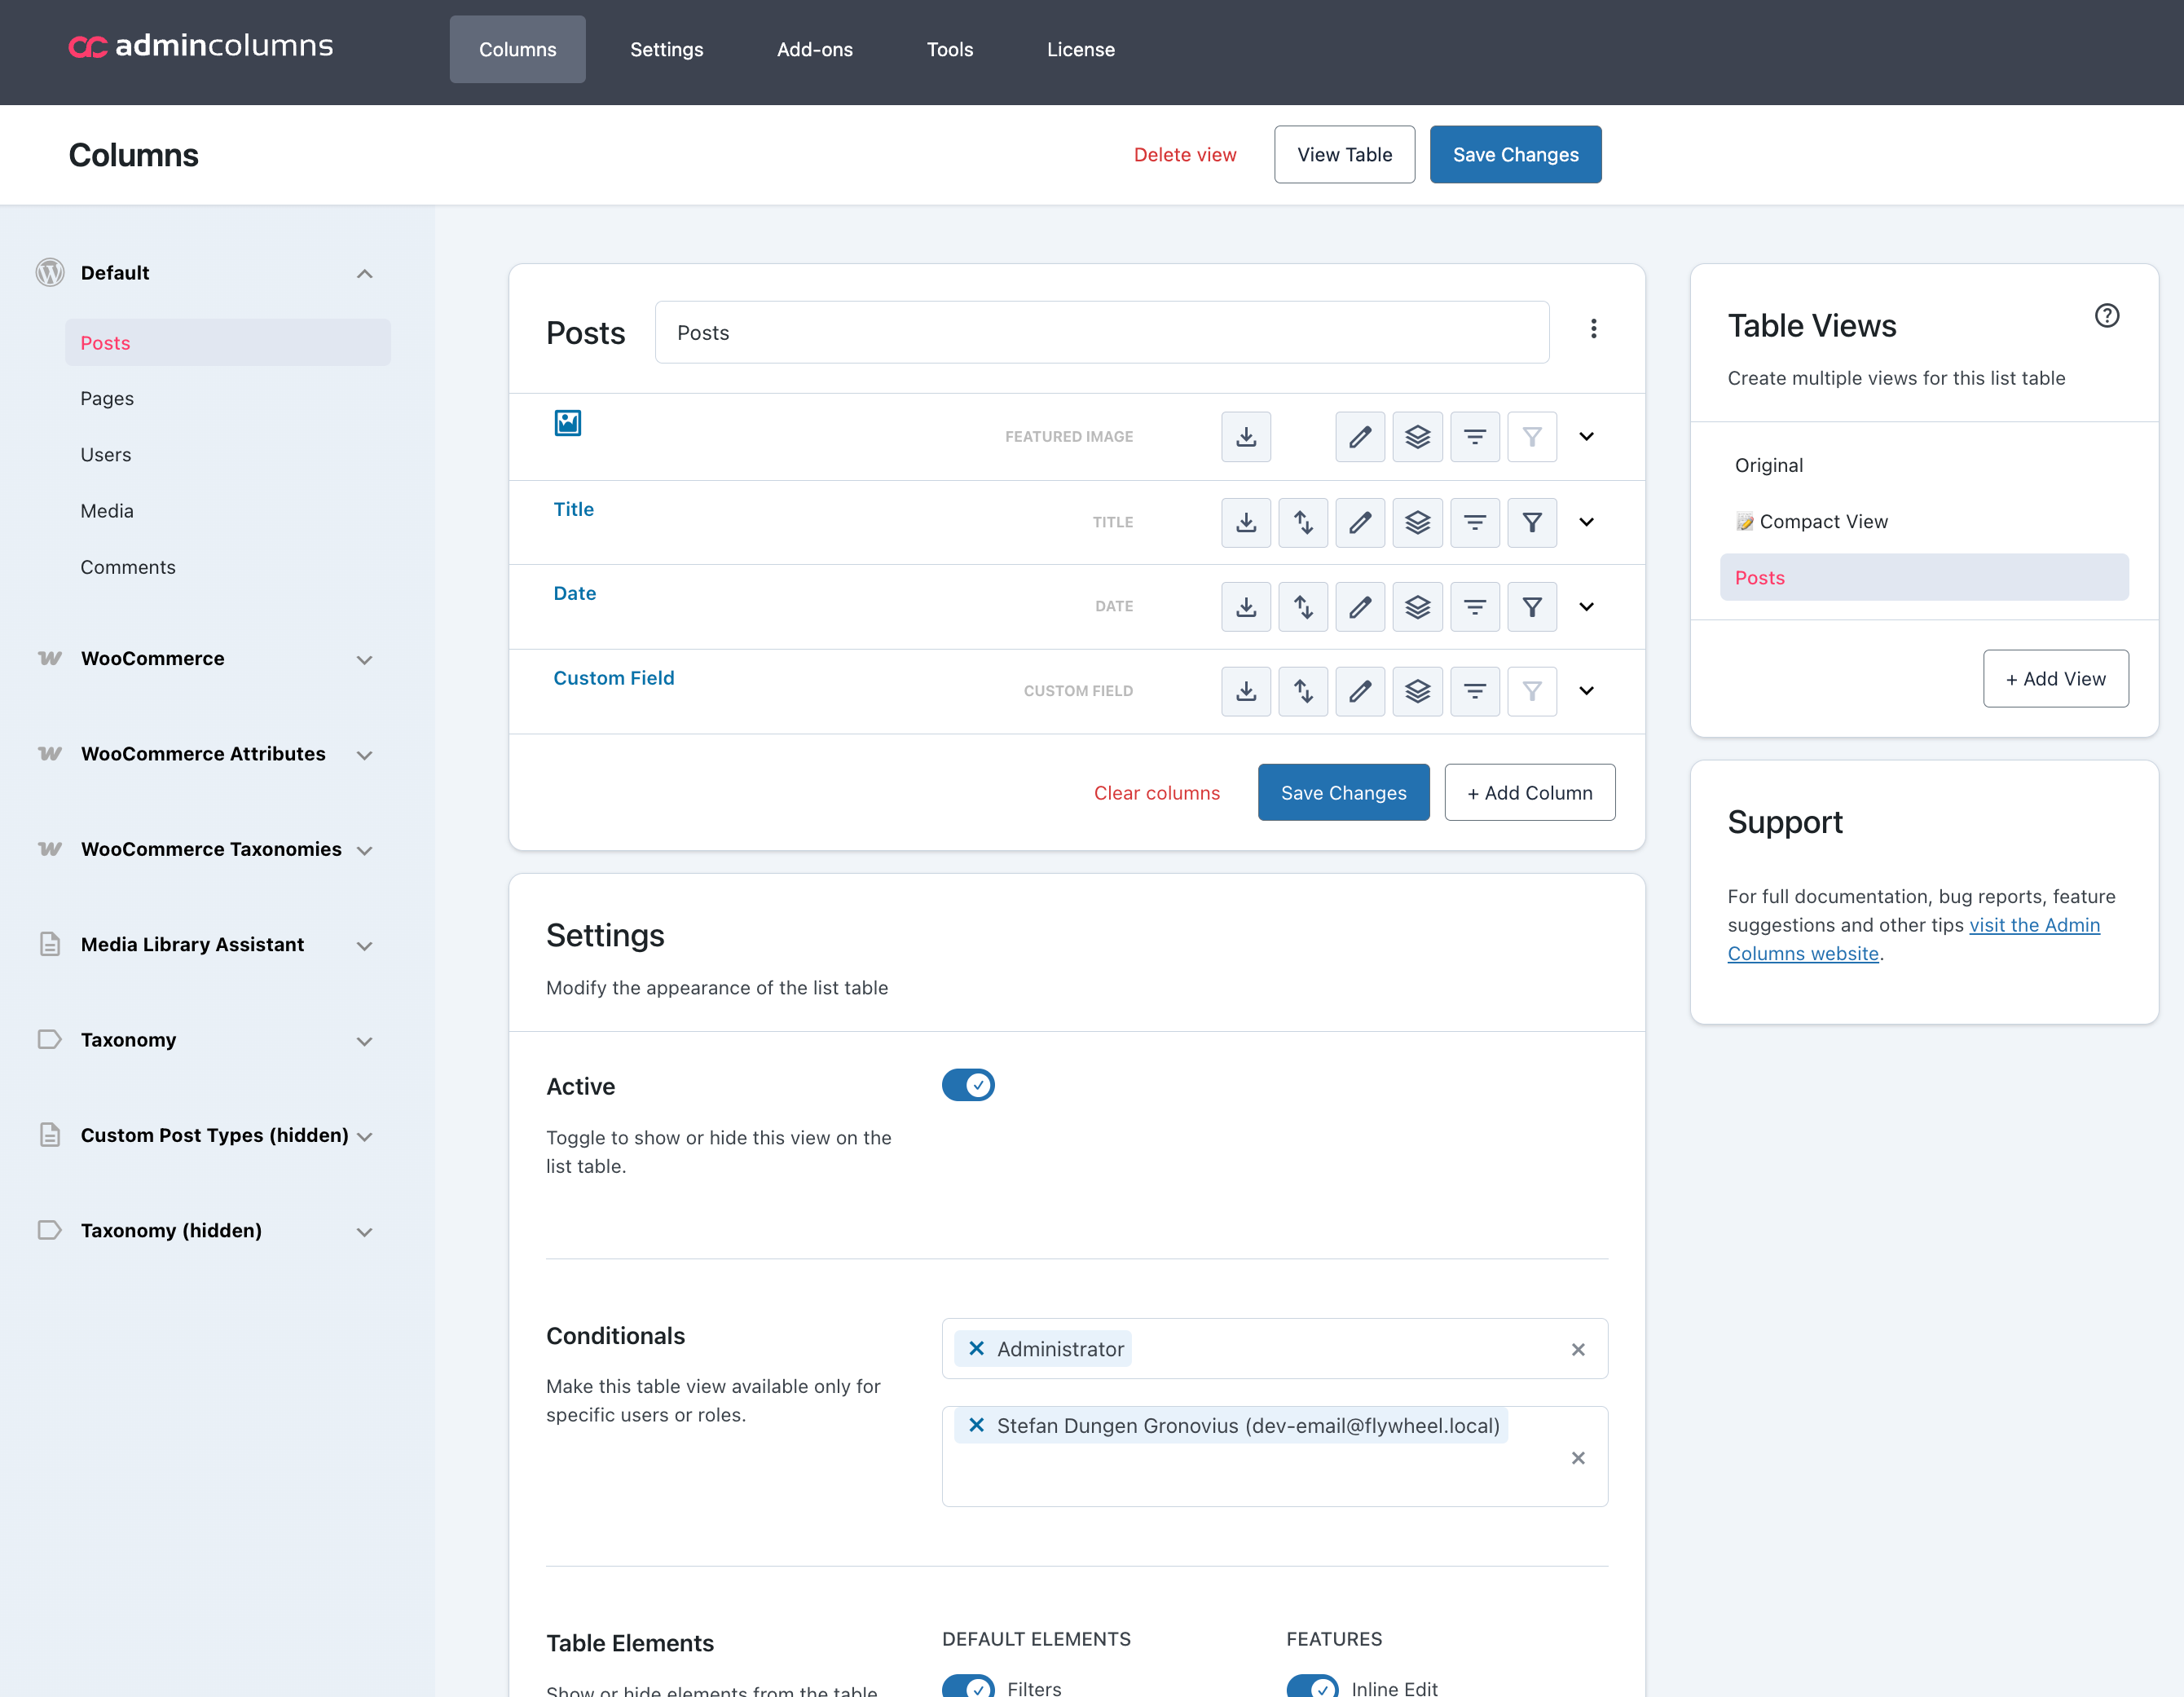
The settings screen is quite self-explanatory, but if you need more information, be sure to
check out The basics of Admin Columns Pro ».