How to use Table Views
Why use Table Views
With Table Views it’s possible to create multiple columns presets for your list tables (posts, users, etc.). You’re no longer bound by one column screen, you can create as many as you like. Switching is real easy, each table view will be available to users from a dropdown menu at the top of the list table screen.

Instructions
- Go to the column settings screen: Dashboard > Settings > Admin Columns.
- Click on the + Add View button top open de Add View modal.
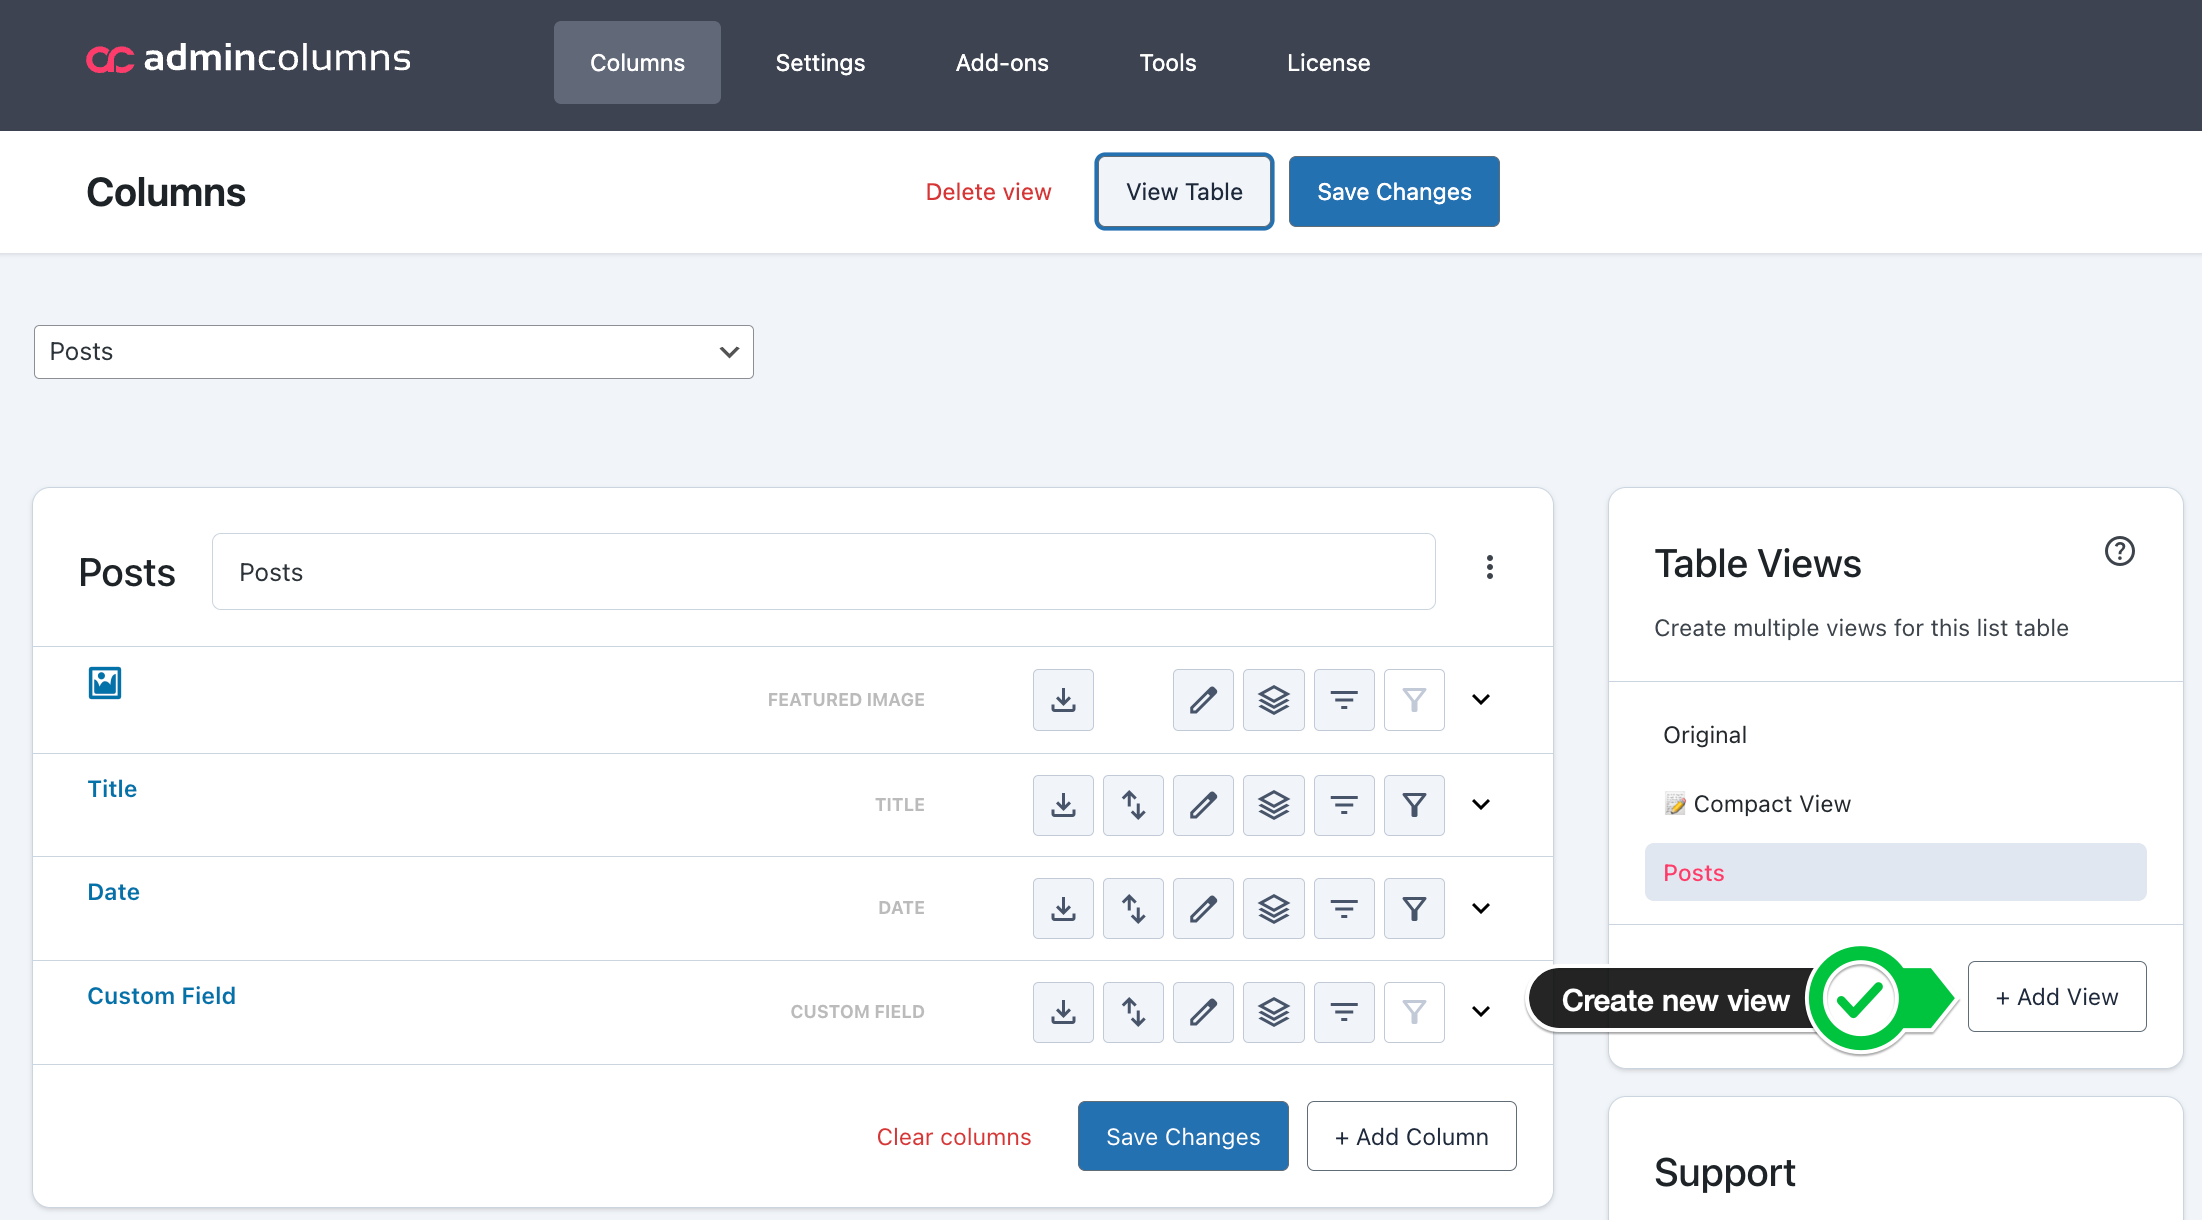
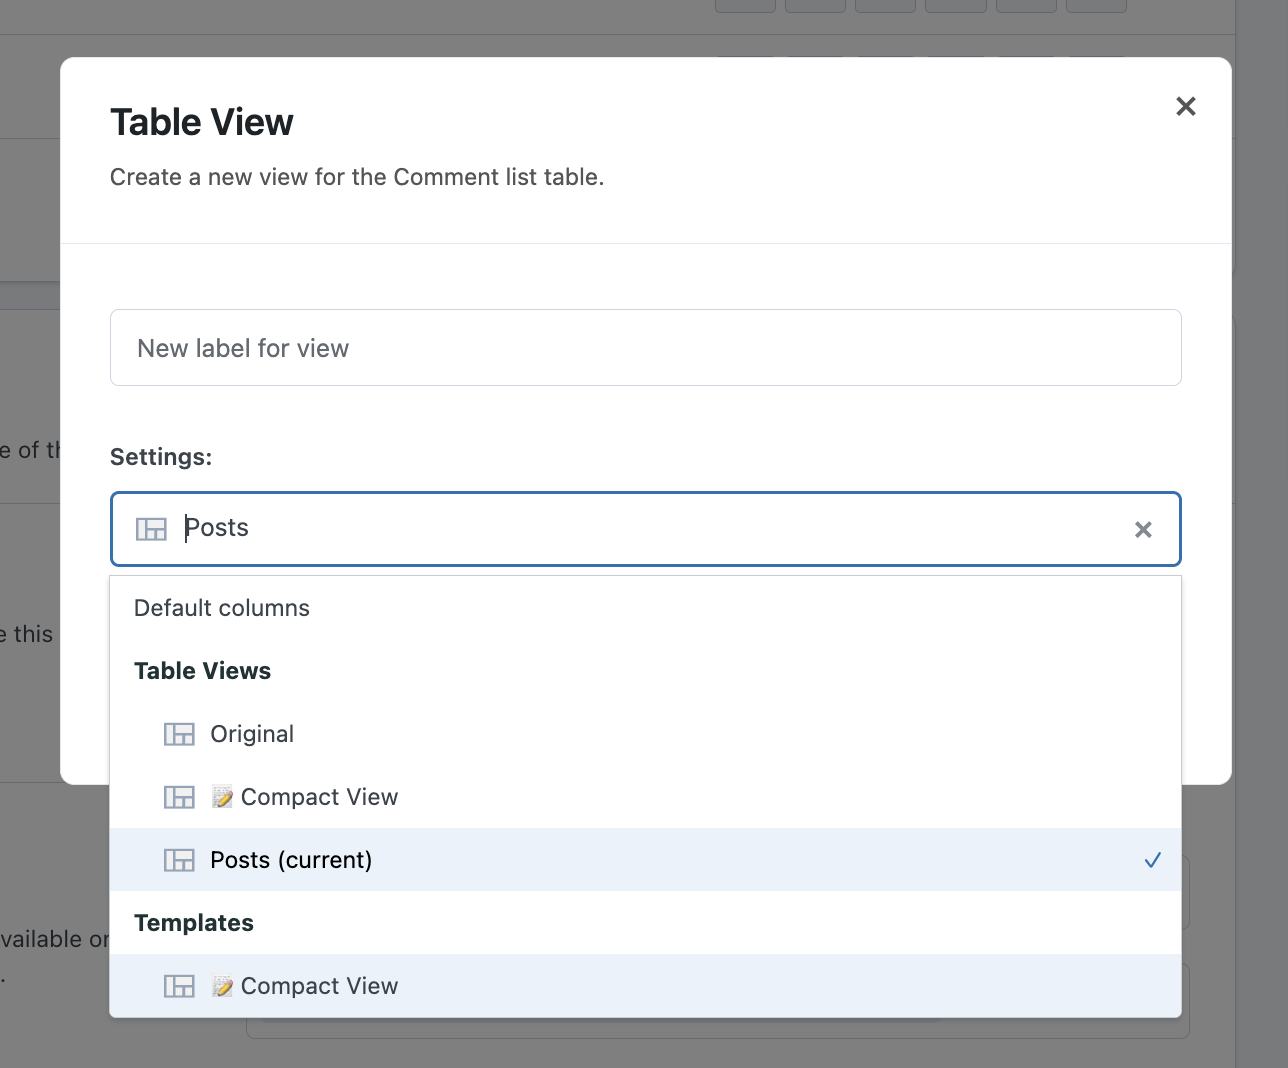
- Fill in a name and select the view or template that should be used as the base. Once created, a clone (duplicate) of the select settings will be used to create the new table view.
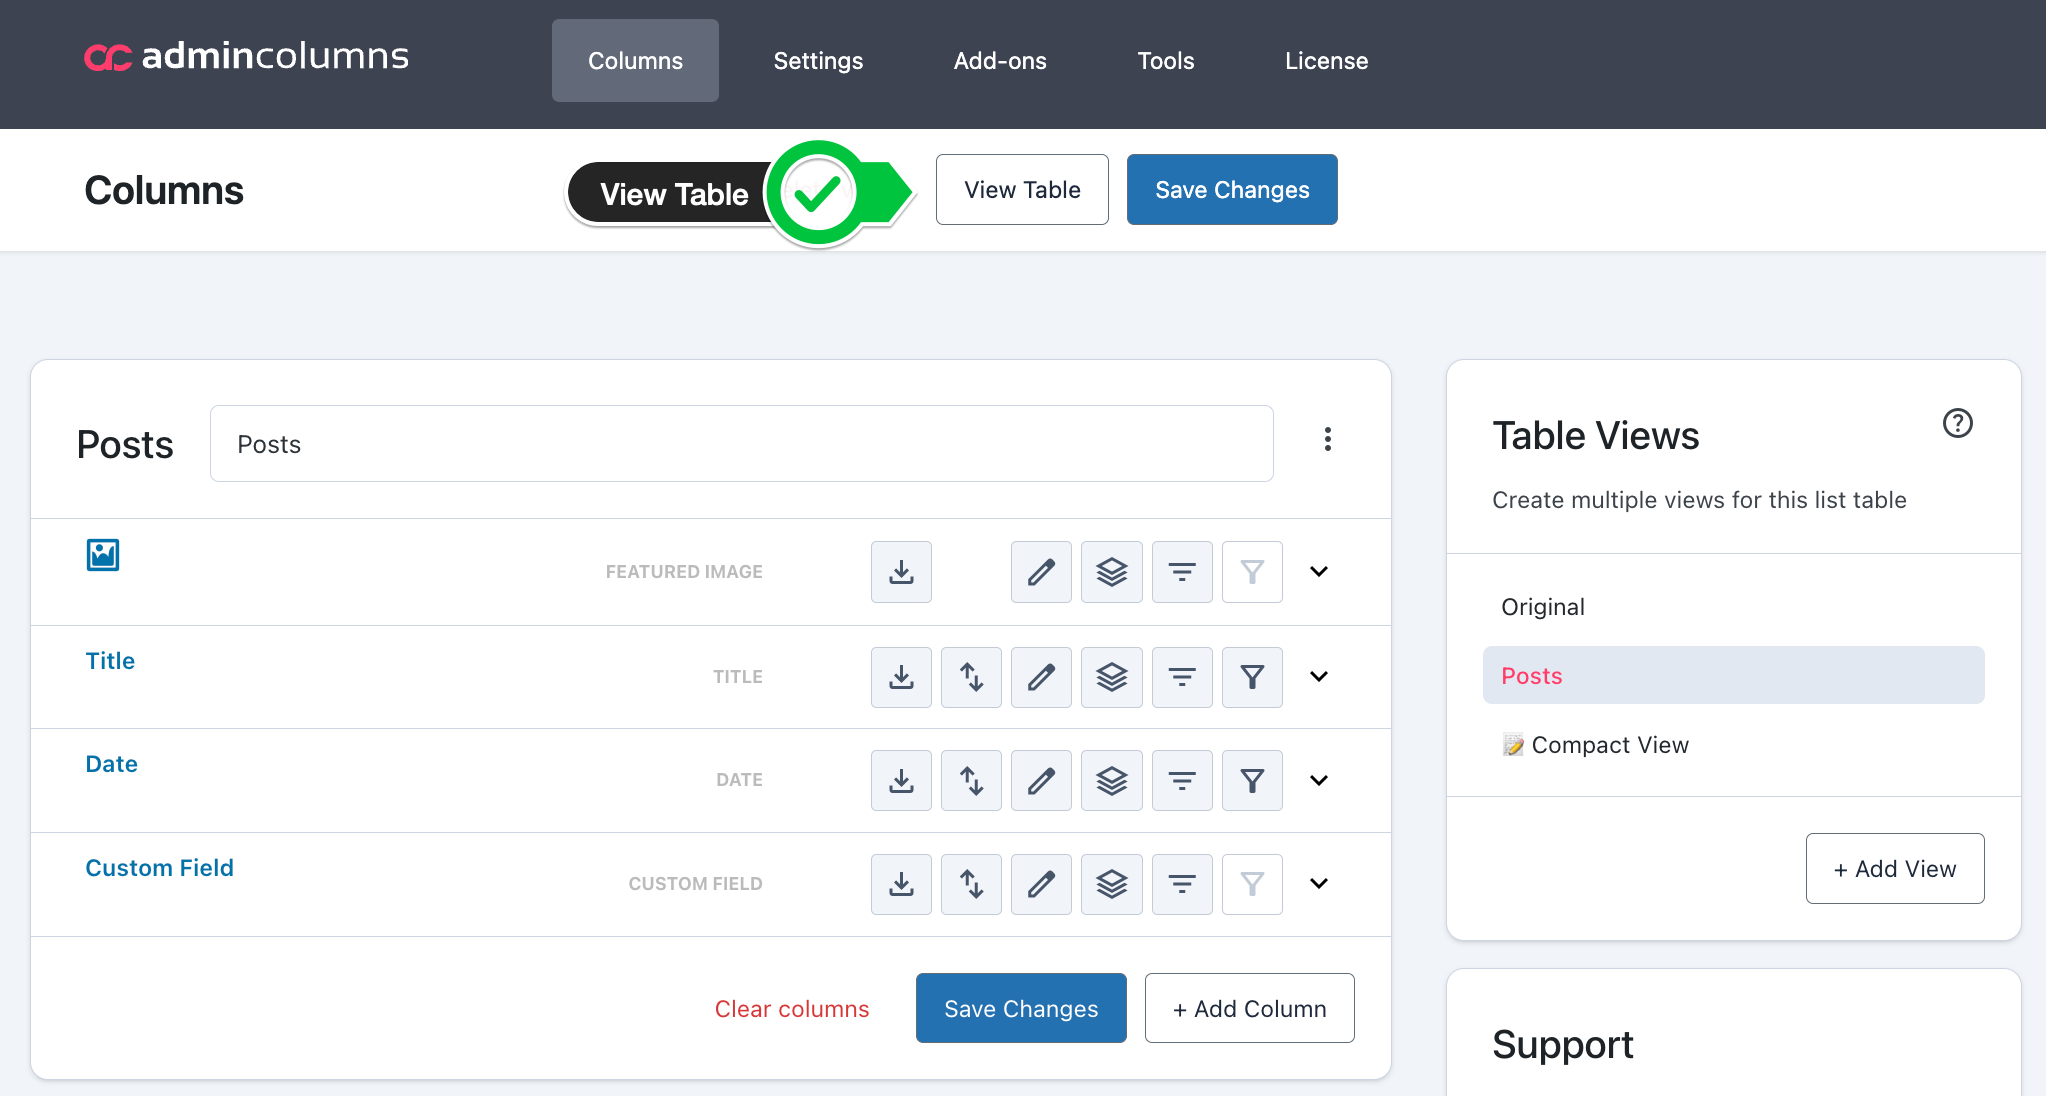
- Once your set is created, you can add or remove columns and they will be stored to your column set once you click Update on the top right.
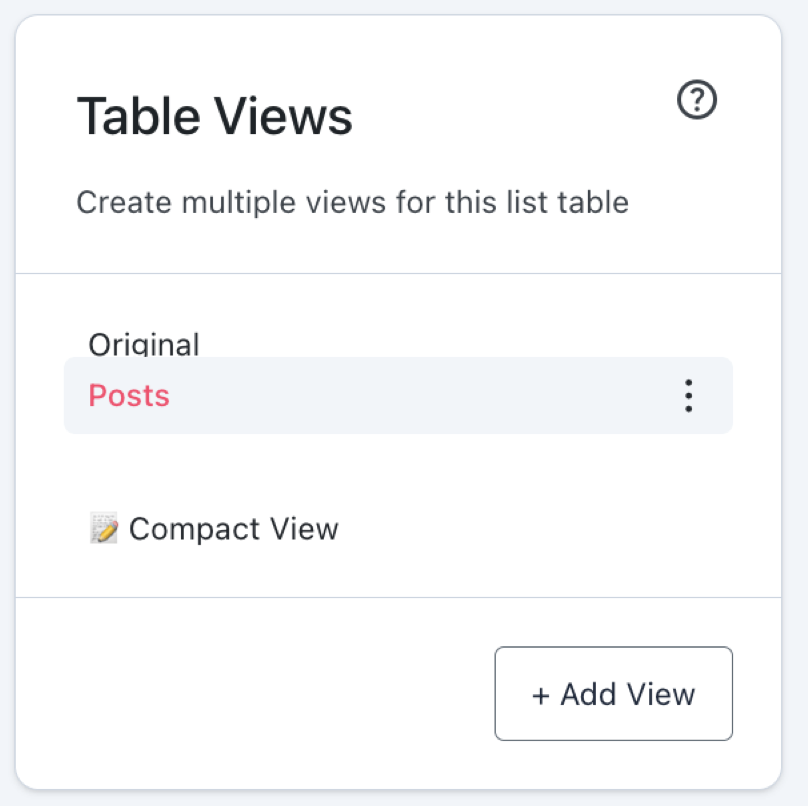
- Optionally, you can drag the sets on the right to change the order of how the items are displayed in the drop-down on the list table.
-
Click on the View button on top of the page to go to the list table page.
-
You can easily switch between column sets on the list table page by selecting the desired set from the drop-down list next to the title.


Display on table
In Table Views, you can control how available views are presented to users. Views can be shown in a dropdown menu above the list table or displayed all at once as a table. This display behavior can be configured in the settings, allowing you to choose the layout that best fits your workflow.

Conditionals
You can assign a user or role to a specific table view. This will make the set of columns only available to them. This can be useful when there are users for different tasks and they need to see different information on their list table.
Learn more about how to display columns based on role or user.
How to use Conditionals
- Select roles or users from the Settings (below the columns).
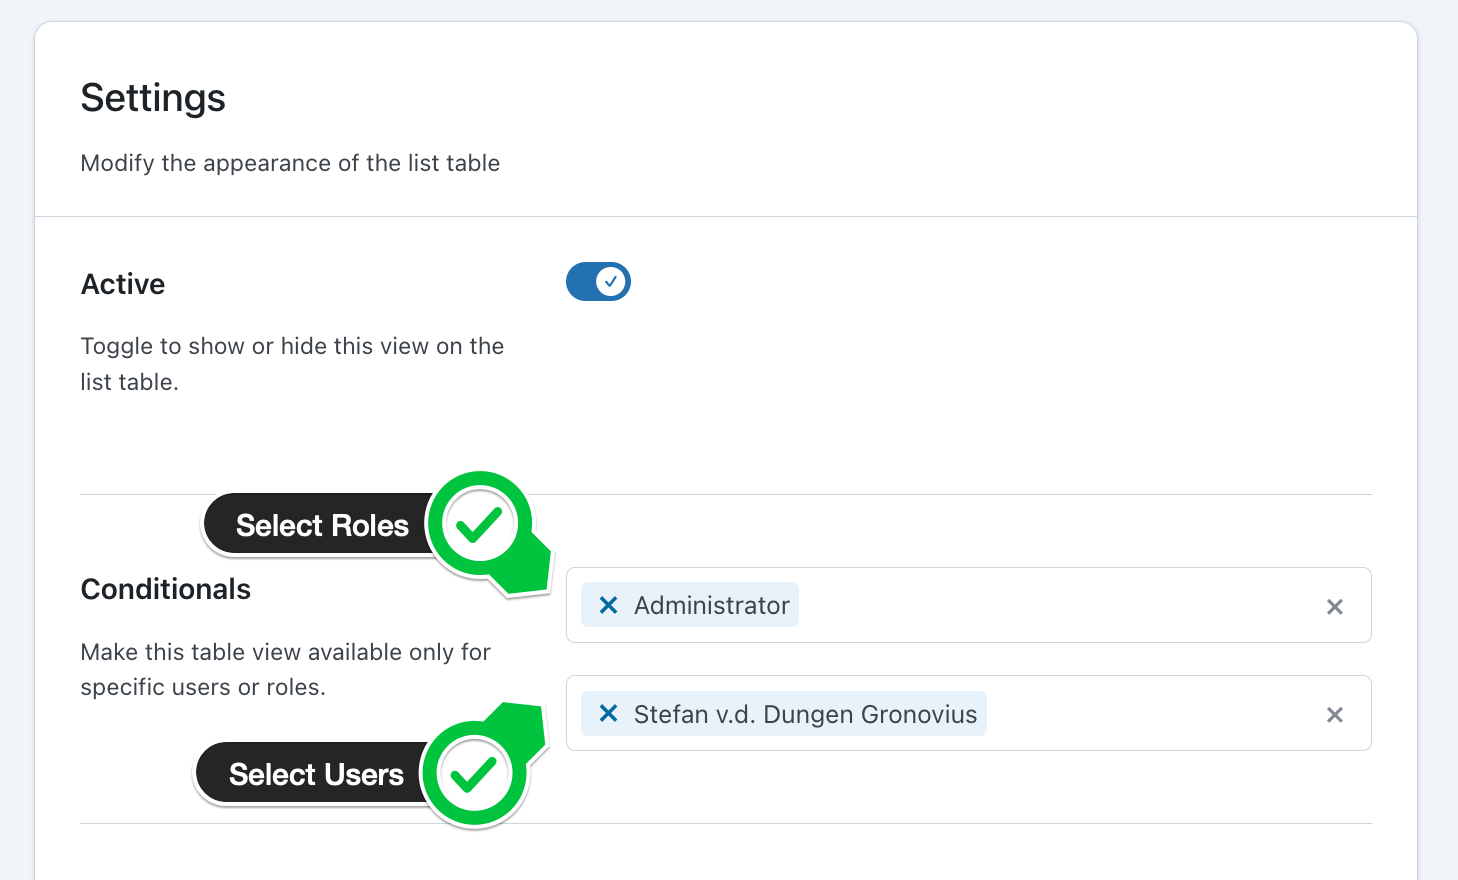
- Click Update.
- The assigned users and roles will now see the assigned columns when visiting the list table.
- When multiple column sets are assigned to the same role or user, they will be able to switch between column set from the dropdown menu.


